We may earn a commission from links on this page, at no extra cost to you.
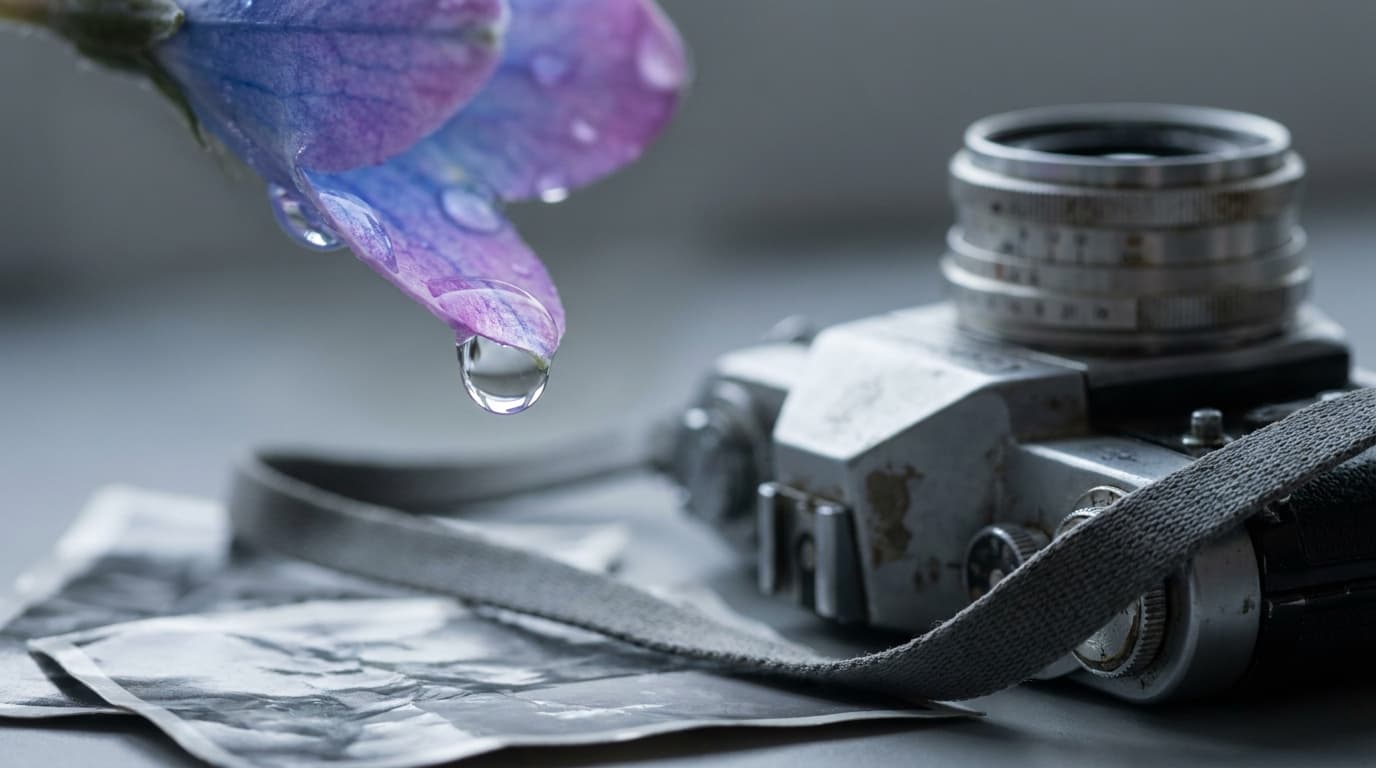
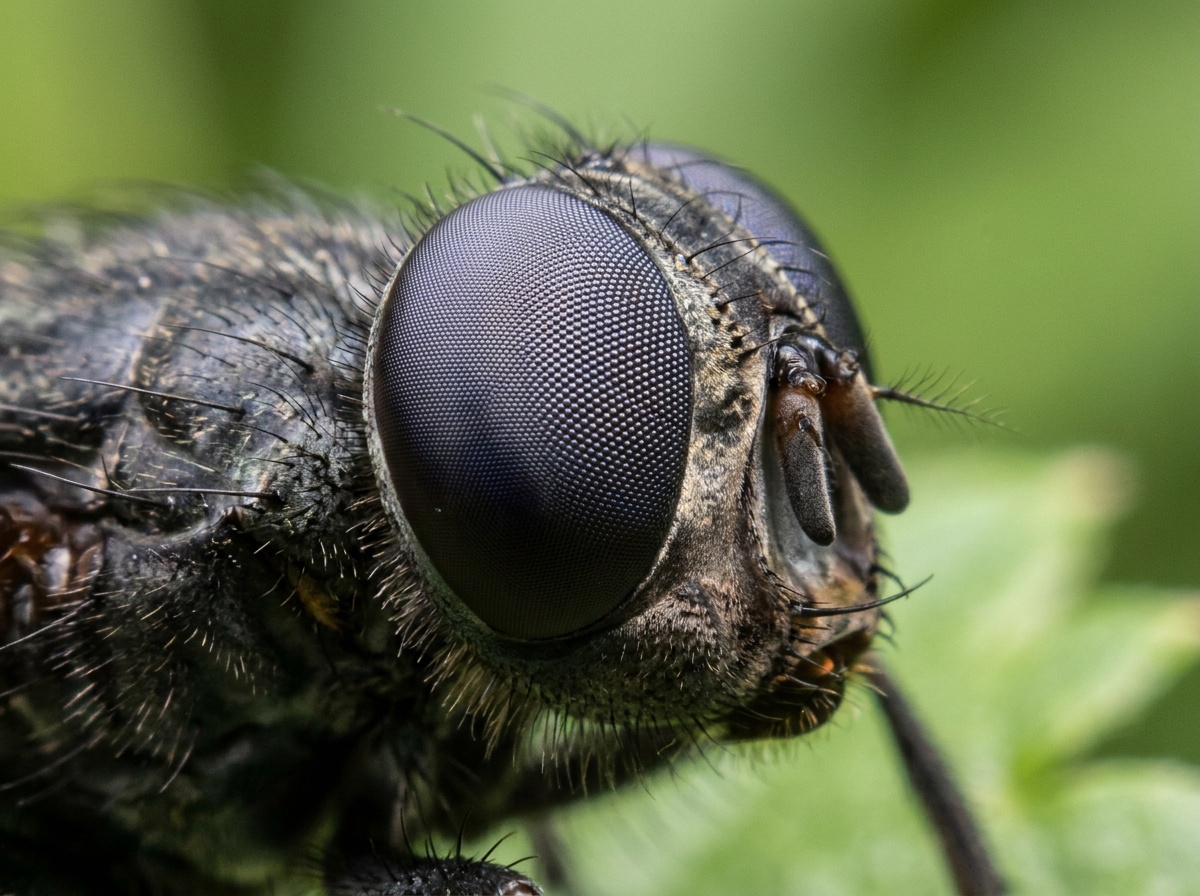
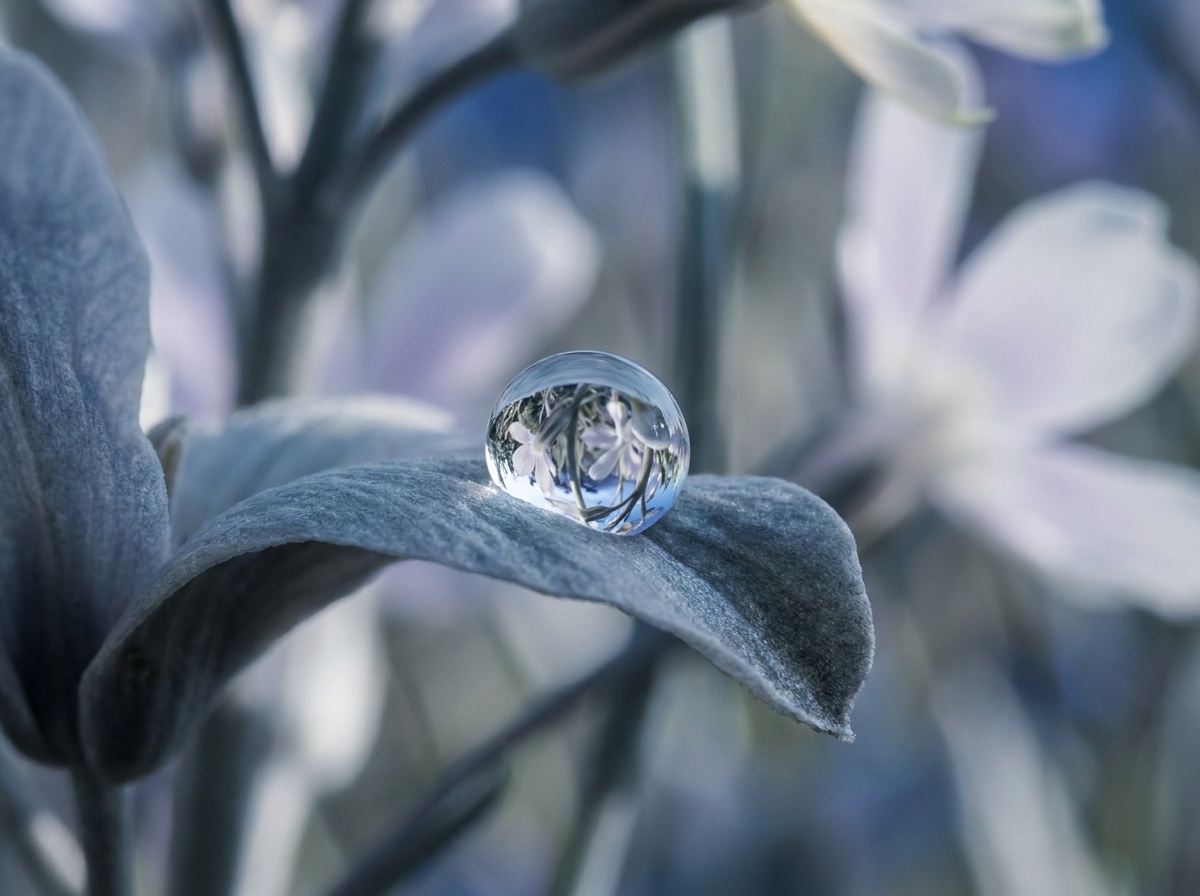
Macro photography lives at extreme magnification, where a few millimeters of depth is all you get and the smallest movement throws the subject out of focus. The technical side is small but unforgiving: light, focus, and stability are everything. Get those right and a dewdrop or an insect eye becomes a whole scene.
True macro means 1:1 reproduction, where the subject projects onto the sensor at life size. At that magnification the math turns harsh: even at f/8 you have roughly a single millimeter of sharp depth, and stopping to f/16 buys perhaps one more millimeter while diffraction starts to soften fine detail. That tradeoff is why close-up shooters live in the f/8 to f/13 range and reach for focus stacking rather than a smaller aperture when they need more depth.
The gear
Macro rewards the right tools more than most genres:
- A dedicated macro lens that focuses to 1:1 life size. This is the purchase that actually changes your results. The wider lens picture is in prime vs zoom lenses.
- A tripod for static subjects, so you can use a low ISO and a slow shutter without blur. See the best tripods guide.
- A light source, often a small LED panel or a ring of light, since at high magnification you lose a lot of brightness. The video lights in best lights for video work for stills too.
- A way to diffuse that light so highlights on shiny subjects do not blow out. A simple homemade diffuser, a curve of frosted plastic or a small softbox over a flash, turns a hard point source into a soft one and keeps highlights consistent from frame to frame, which matters when you stack.
Working distance is the quiet reason focal length matters here. A 100mm macro lets you shoot a skittish insect from farther back than a 50mm at the same 1:1 magnification, so you cast less shadow and spook the subject less. For living subjects, the longer macro is worth the extra cost.
The settings
The working macro recipe is f/11 · 1/200 · ISO 200, leaning on added light. A narrower aperture buys back some of the razor-thin depth of field, though past roughly f/16 diffraction softens the whole frame, so f/8 to f/13 is the sweet spot. Keep ISO low for clean detail. If you shoot handheld, set shutter speed to 1/200 or faster to fight the magnified shake. The exposure triangle ties the three together, and our macro photography basics walkthrough covers the close-up workflow step by step.
For focus, switch to manual. Autofocus hunts at this range. Set the focus by moving the whole camera toward and away from the subject rather than turning the ring, and watch the depth of field collapse as you get closer.
Technique and composition
Find the plane that matters. With so little depth, you usually want the most important detail, an eye, a stamen, a water droplet, sitting flat to the sensor so the thin sharp zone covers it. Pick a clean, simple background, since clutter is far more distracting up close. For static subjects, take a series of frames at slightly different focus points and combine the sharp parts later, a technique called focus stacking. The move that makes a stack clean is overlap: shift focus by roughly two thirds of your depth of field between frames so each slice overlaps the last, then let software merge the sharp parts into one fully detailed image. A still flower or coin might need ten frames; a deep subject can take dozens. The sharp photos guide covers the stability habits that matter even more at this scale, and focus stacking walks through the full merge workflow.
Common mistakes
The frequent errors are easy to fix. Stopping all the way down to f/22 for more depth actually softens the image through diffraction, so stay near f/11 and stack frames if you need more. Relying on autofocus leaves you hunting, so focus manually by moving the camera. Too little light forces a slow shutter that blurs the shot, so add and diffuse a light source. And a busy background buries the subject, so choose a plain one or throw it out of focus.
Know the rules
Most macro happens in a garden or on a table, but if you shoot wildlife close-ups on protected land, tripods and access can be regulated. Check the rules by location pillar before a serious outing on public land.
What aperture is best for macro photography?
Around f/8 to f/13, with f/11 a safe default. That range gives you usable depth of field without the softening that diffraction adds past roughly f/16. If you need more depth, hold near f/11 and focus stack several frames.
Do I need a special lens for macro?
For true close-ups, a dedicated macro lens that focuses to 1:1 is the real fix. Extension tubes and close-up filters can get you started cheaply, but a proper macro lens delivers the sharpness and working distance the genre depends on.
Why are my macro shots always blurry?
Usually it is movement plus the razor-thin depth of field. Focus manually by rocking the camera forward and back, use a shutter of 1/200 or faster handheld or a tripod for static subjects, and add light so you are not forced into a slow exposure.
Related Genres guides
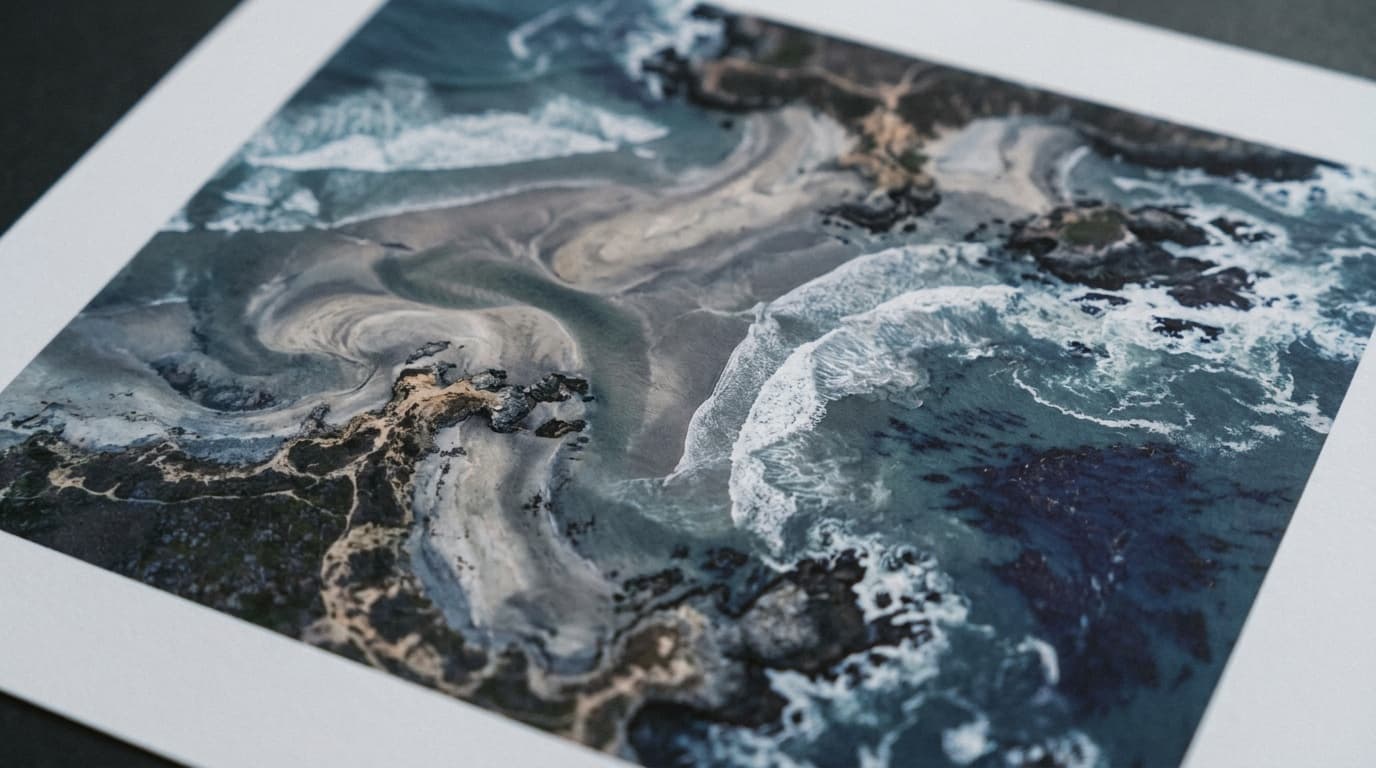
Aerial Photography: Composition and Settings for Shots From Above
Aerial photography is about reading the ground as pattern and shape. Here is the gear, the settings, and the composition moves for clean shots from above.
Read guide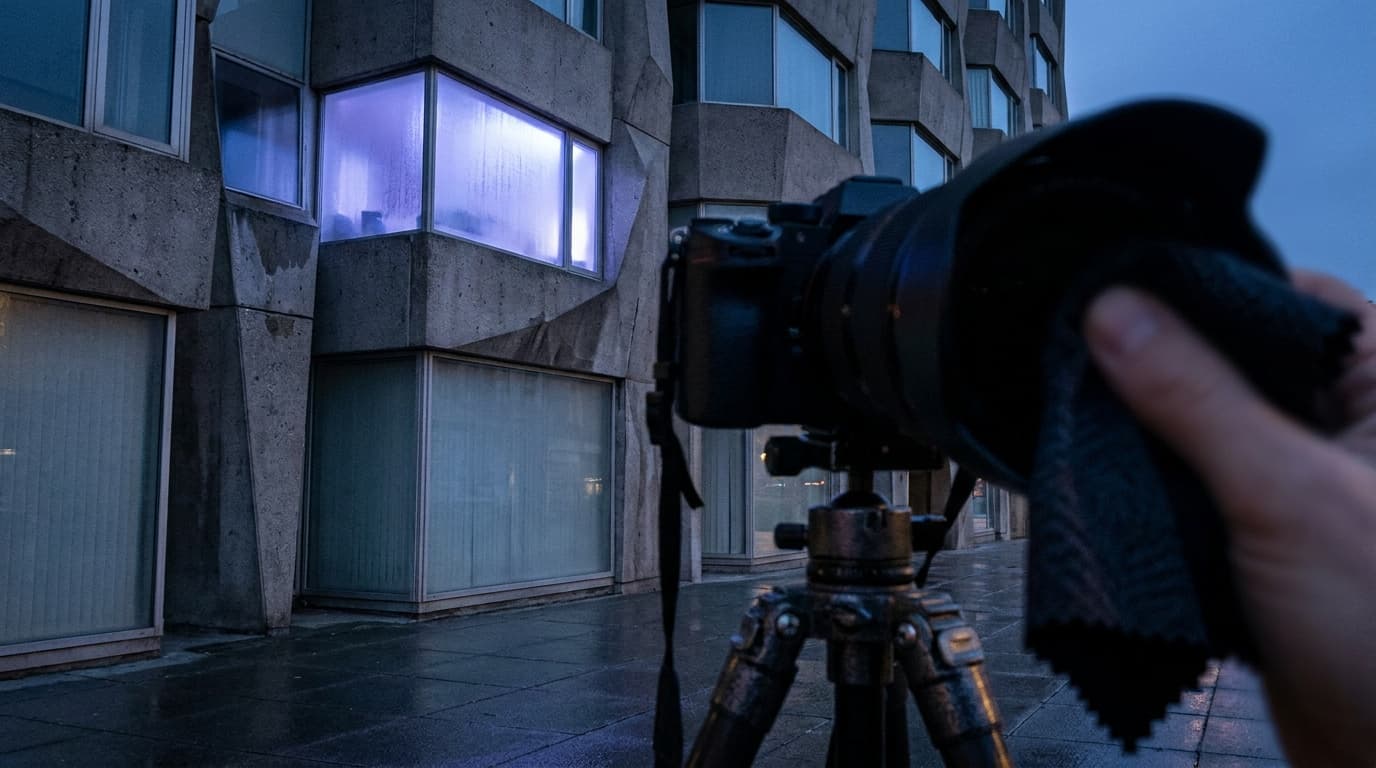
Architecture Photography: Gear and Settings for Clean, Straight Buildings
Architecture photography is about straight lines, even light, and front-to-back sharpness. Here is the gear, the settings, and the mistakes to skip.
Read guide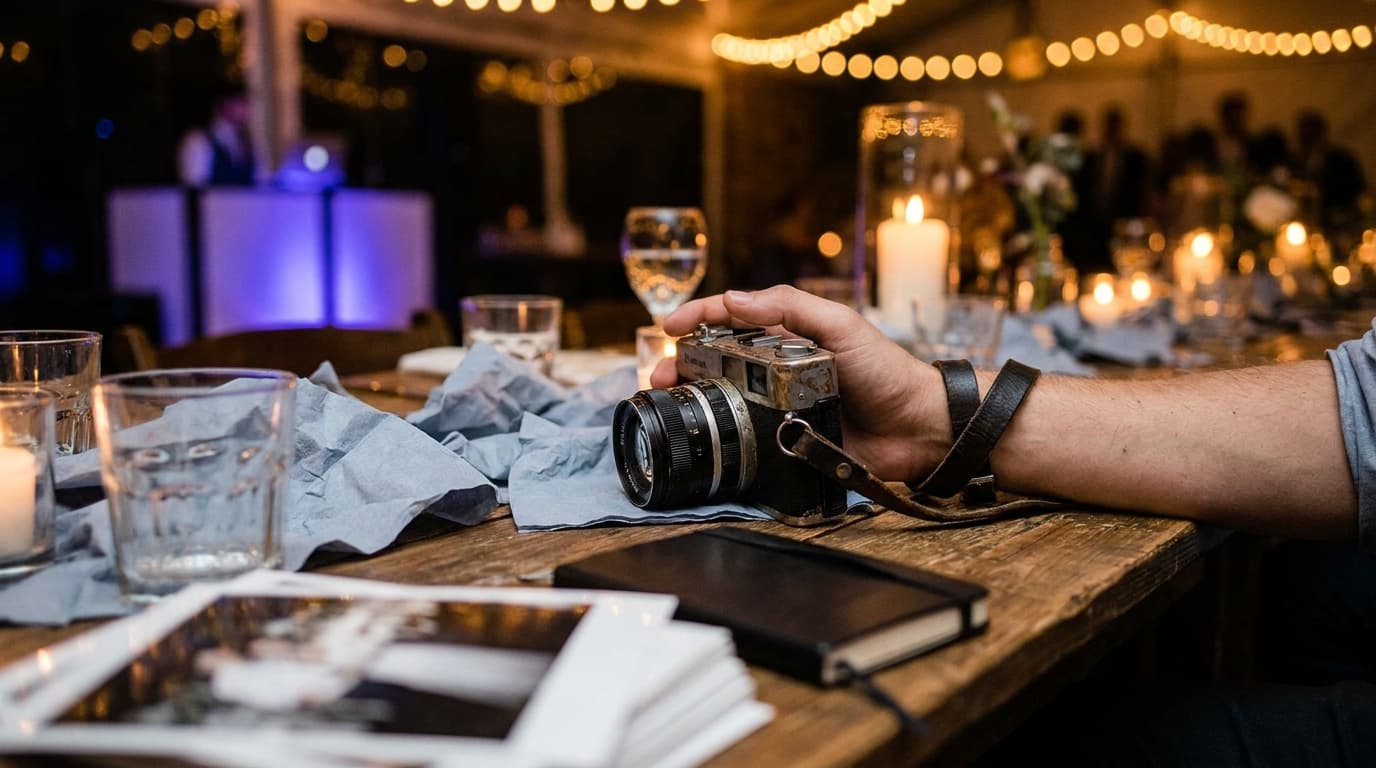
Event Photography: Settings and Gear for Low Light and Fast Moments
Event photography means low light, candid moments, and no second takes. Here is the gear, the settings, and the mistakes to skip for sharp, well-lit frames.
Read guide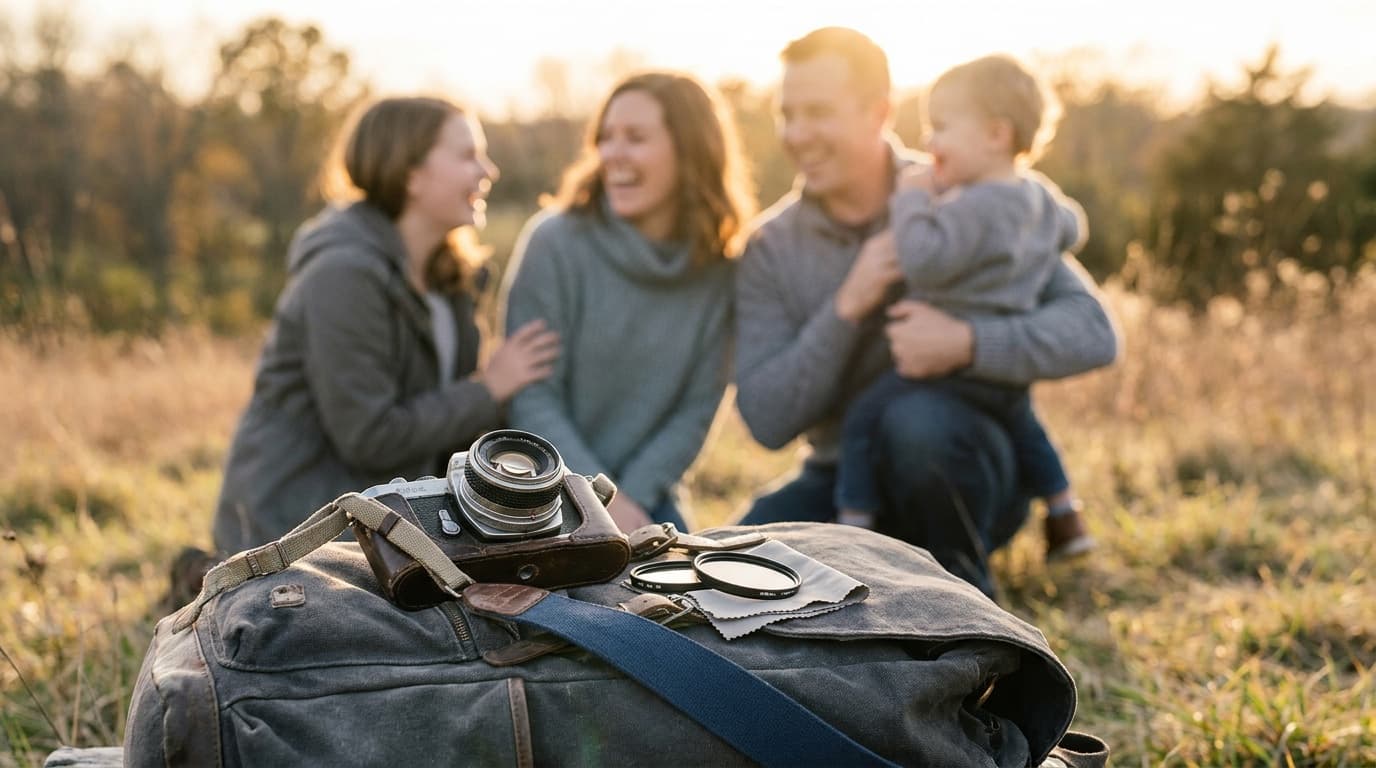
Family Photography: Posing, Light, and Wrangling Everyone at Once
Family photos come down to flattering light, simple posing that connects people, and keeping a group relaxed. Here are the settings, the poses, and the wrangling tactics that work.
Read guideResearched, not personally tested: picks come from specs, verified-owner reviews, and expert sources, scored into the Aperture Score. As an Amazon Associate I earn from qualifying purchases. We may earn a commission from links here, at no extra cost to you. How we research →