We may earn a commission from links on this page, at no extra cost to you. Picks are researched, not sponsored.
Underwater photography has the same exposure triangle as dry land, but the medium fights you. Water is dense, it absorbs color, it carries particles that light up like snow, and it moves you and your subject around. Most of the tips that matter come down to one idea: reduce the amount of water the light has to travel through.
Why do underwater photos look blue and soft?
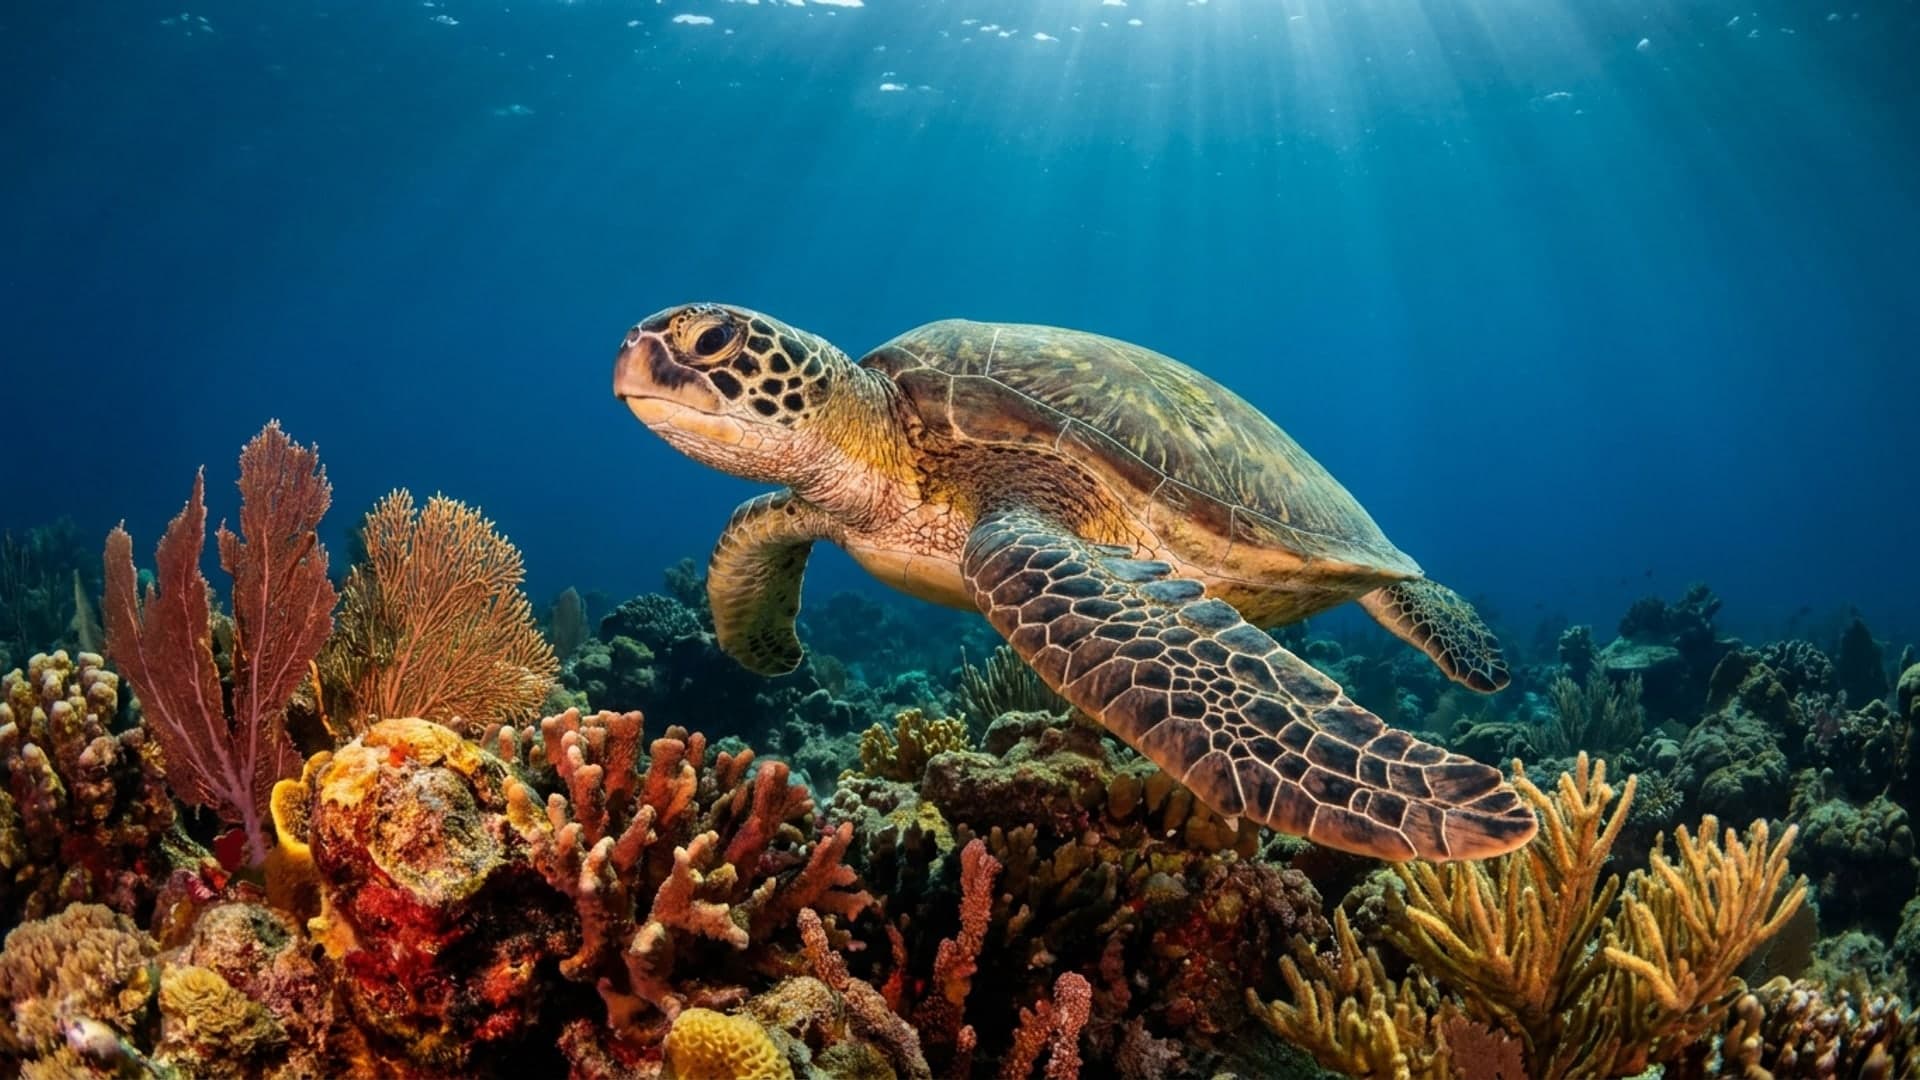
Water filters light by wavelength. NOAA's Ocean Exploration program explains that blue light penetrates water best, followed by green, yellow, orange, and then red, which is filtered out quickly as depth increases. That is why a reef that looks vivid at the surface turns blue-green a few meters down, and why reds go dark first.
The loss is not only vertical. Light also travels horizontally from the subject to your lens, so a fish two meters away has lost more color than the same fish half a meter away at the same depth. NOAA notes that significant sunlight rarely reaches below about 200 meters, but for photographers the practical limit on color is far shallower than that.
Softness has a second cause: particles. Plankton, sand, and silt scatter light and lower contrast. In poor visibility, even a sharp lens produces flat, hazy frames once the subject is a few meters away.
| Problem | Cause | Fix |
|---|---|---|
| Everything looks blue or green | Red and orange absorbed by water | Get closer, set custom white balance, add strobes |
| Low contrast, hazy frame | Particles scattering light | Get closer, shoot upward, choose clearer water |
| White specks in the photo | Strobe light hitting particles (backscatter) | Angle strobes outward, lower power, get closer |
| Blurry subject | Surge, your own movement, slow shutter | Faster shutter, better buoyancy, burst shooting |
Waterproof camera, housing, or phone?
Waterproof compacts and action cameras are the easiest start. The OM System Tough TG-7, for example, is rated waterproof to 15 meters under the IEC 60529 IPX8 standard and includes three underwater white balance presets. Action cameras are built for snorkeling and surface use, and the best action cameras guide covers the current options. Check the depth rating for the exact model and whether it needs a separate housing for deeper dives.
Housings turn a regular camera into an underwater camera. They cost more and add bulk, but they keep full manual control, RAW files, and interchangeable lenses. The front window of a housing is called a port, and its shape matters. Ikelite notes that a flat port magnifies the image about 1.33x and narrows the field of view, while a dome port corrects for refraction and restores the wide view. Wide scenes and reefscapes usually go behind a dome; macro work often uses a flat port, where the extra magnification helps.
Phones are not underwater cameras, even with a high water-resistance rating. Apple rates recent iPhones IP68 to a maximum of 6 meters for up to 30 minutes, but its own water resistance guidance says to avoid swimming with the phone or intentionally submerging it, and that resistance can decrease with normal wear. If you want to use a phone underwater, use a housing designed for that phone model and accept the risk.
The settings that work
Treat these as starting points, then check the histogram and adjust. Shoot RAW if the camera allows it. RAW vs JPEG matters more underwater than almost anywhere else, because color correction is heavy.
| Situation | Starting settings | Notes |
|---|---|---|
| Snorkeling, bright shallow water | f/8 · 1/250 · ISO 200 | Fast shutter freezes surge and sun rays |
| Shallow reefscape, ambient light | f/8 · 1/125 · ISO 400 | Custom white balance at your depth |
| Wide angle with strobes | f/8 · 1/125 · ISO 200 | Strobes light the foreground; shutter controls the blue background |
| Macro with strobes | f/16 · 1/200 · ISO 100 | Small aperture for depth; stay at or below flash sync speed |
| Video with lights, no strobes | 1/50 to 1/60 at 24 to 30 fps · Auto ISO | Continuous lights instead of flash |
Two habits help regardless of camera. First, use a fast enough shutter speed for the conditions: 1/250 or faster when you and the subject are both moving in surge. Second, shoot in bursts. Water movement means one frame in several is usually the sharp one.
White balance underwater
In shallow ambient light, a custom white balance does most of the color work. Point the camera at a white slate or pale sand at your working depth and set custom white balance, then repeat when you change depth. The process is the same as on land, and how to set custom white balance walks through it. If your camera has underwater white balance presets, use them as a baseline. Below the depth where reds are gone, white balance cannot bring them back; it can only shift what is left. That is where strobes come in. For the theory behind the color shift, see understanding white balance.
Strobes and video lights
Strobes are underwater flashes. They restore color to whatever they reach, which in practice means subjects close to the lens. Their light makes a round trip through the water, out to the subject and back, so distance costs color twice. Video lights do the same job continuously and are easier to learn, but they are weaker than strobes at freezing motion. The basics of flash power and sync carry over from flash photography basics.
How do you avoid backscatter?
Backscatter is the field of white or tan specks that appears when strobe light hits particles between the lens and the subject. The Wetpixel community archive's backscatter guide summarizes the standard fixes that experienced shooters use:
- Get closer. Less water between lens and subject means fewer lit particles.
- Move the strobes out. Put them to the sides on arms, behind or level with the port, so the brightest part of the beam does not cross the lens path.
- Aim forward or slightly outward. Light the subject with the edge of the beam rather than the center.
- Lower strobe power when the water is dirty, and recover exposure in the RAW file.
- Turn off the built-in flash on a housed compact, or block it, because it fires straight through the particles in front of the lens.
Composition helps too. Shooting upward toward the surface puts open water behind the subject instead of particle-filled reef, and on bright days lets the sun do some of the lighting.
Snorkel or dive?
Snorkeling keeps you in the shallowest, brightest water, where color loss is smallest. Many of the best snorkel photos are made in the top two or three meters. The tradeoff is breath-hold diving to get closer. Divers Alert Network's freediving guidance stresses two rules: never breath-hold dive alone, and avoid hyperventilating before a dive, because it suppresses the urge to breathe that warns you to surface.
Hawaii's Department of Health snorkeling safety page adds practical rules: snorkel with a partner, ask lifeguards about conditions, skip the water when surf or currents look dangerous, and consider a flotation device. It lists fatigue and lack of ocean experience as drowning risk factors, and a camera makes it easy to stay out longer than you planned.
Scuba gives you time, stability, and access to subjects that never come shallow, but it adds a serious risk for photographers: task loading. In one DAN incident case summary, a diver filming lost track of depth and his buddy and went far past his planned maximum. DAN's recommendations were to add new tasks gradually, pick sites where a safe depth cannot be exceeded, and keep your buddy in sight.
Be a good guest on the reef
Good buoyancy protects the reef as well as your photos. PADI's underwater photography etiquette guidance is to watch your fins near fragile coral, let animals come to you rather than chasing them, approach slowly from the side or below, and avoid firing a strobe repeatedly into the same animal. Do not move or handle wildlife for a shot. Many marine parks and protected areas also have their own rules on access and commercial shooting; check rules by location before a trip.
Common mistakes
- Shooting from too far away. The single biggest cause of blue, hazy photos. Move closer, then closer again, and use a wider lens rather than zooming in.
- Relying on the strobe for distant subjects. Strobe light falls off fast in water. Past arm's length or so, it mostly lights particles.
- Pointing strobes straight ahead. This lights the water in front of the lens and causes backscatter. Angle them out.
- Leaving white balance on auto in deep blue water. Auto often cannot find a neutral reference. Set a custom value or fix it in RAW.
- Chasing marine life. Animals swim away from a pursuing diver, and you burn air and energy. Wait and let them approach.
- Skipping the housing check. Inspect O-rings for hair and sand, and test a sealed housing in a rinse tank or shallow water before the dive.
Where this fits
Underwater work pairs naturally with travel photography, since most underwater shooting happens on trips, and with wildlife photography for patience and animal behavior. A wide-angle lens is the usual first lens behind a dome port. For keeping gear alive around salt water and spray topside, see protecting your gear in bad weather.
What are the best camera settings for underwater photography?
In bright shallow water, start around f/8, 1/250, and ISO 200, and shoot RAW. With strobes on a wide-angle setup, try f/8, 1/125, ISO 200, and use the shutter speed to control how blue the background looks. For macro with strobes, f/16 at 1/200 and ISO 100 is a common starting point.
How do you get color back in underwater photos?
Get closer to reduce the water between lens and subject, set a custom white balance at your working depth, and use strobes or video lights for anything deeper than a few meters. In editing, RAW files allow much larger white balance and tint corrections than JPEGs.
What causes white spots in underwater photos?
That is backscatter: strobe or flash light reflecting off particles in the water between the lens and the subject. Move strobes out to the sides, aim them forward or slightly outward, lower their power, turn off a built-in flash, and get closer to the subject.
Can I use my phone for underwater photos?
Only with a housing made for that phone. Even phones rated IP68 are not designed for swimming or diving, and Apple advises against intentionally submerging an iPhone. A waterproof compact or action camera is a safer starting point.
Practice this
Turn the guide into a working setup
Keep going
Next useful steps
Pick one. Each link continues the same job without starting the research over.
Related Genres guides

Wildlife Photography: Gear, Settings, and Field Craft
Sharp wildlife photos need reach, a fast shutter, and patience. Here are the lens and settings to start, plus the field habits that get you close enough.

Event Photography: Settings and Gear for Low Light and Fast Moments
Event photography means low light, candid moments, and no second takes. Here is the gear, the settings, and the mistakes to skip for sharp, well-lit frames.

Fashion Photography: Light, Posing, and the Look on a Budget
Editorial fashion images come from intentional light, confident posing, and a clear styling concept. Here is how to build the look on a budget with one light and simple gear.
Product Photography: A Simple, Repeatable Setup
Clean product photos need controlled light, a sharp aperture, and a tripod, not a studio. Here is the gear, the settings, and the lighting that gets professional results.
Researched, not personally tested: picks compare specifications, available owner feedback, and established expert sources. As an Amazon Associate I earn from qualifying purchases. We may earn a commission from links here, at no extra cost to you. How we research →