We may earn a commission from links on this page, at no extra cost to you. Picks are researched, not sponsored.
Buying path
Choose the next useful move
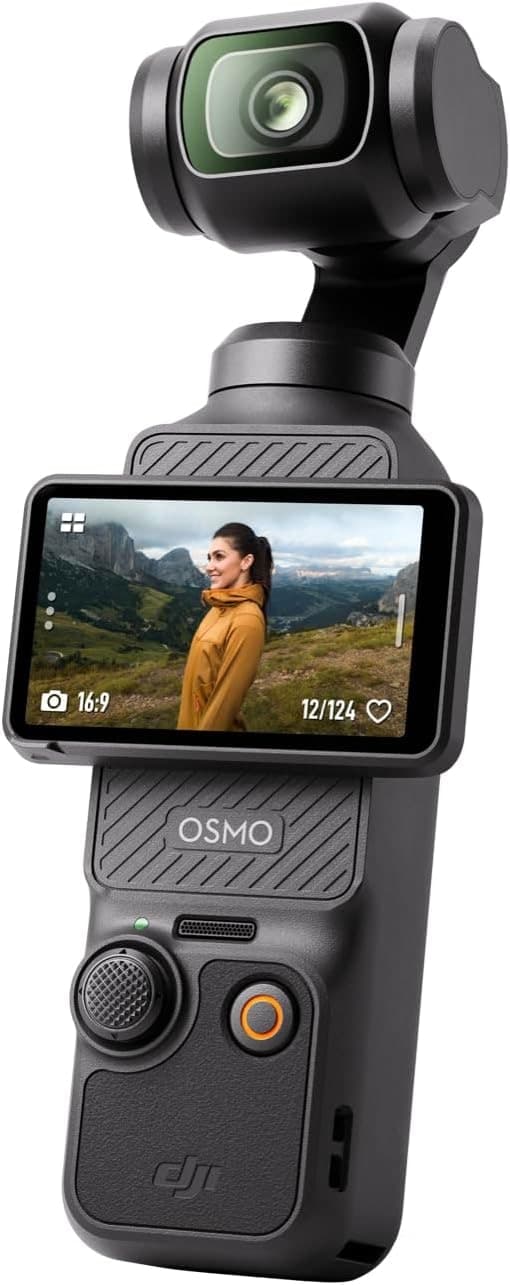
Top pick decision
Start here if DJI Osmo Pocket 3 fits the job
Travel vloggers and solo creators who want smooth footage with the least kit possible.
9.0
5 picks
Fit
9.0
Owners
9.0
Build
9.0
Value
9.0
Best if: Real mechanical stabilization
Skip if: Fixed wide lens
Open the retailer when the best-if line sounds like your shoot and the skip-if line does not describe you.
Guided path
Build a creator video setup that makes technical sense
Recommended kit
Solo vlogging kit
Approx. total $1,066. Built around this workflow.
Starter 1 · Camera
DJI Osmo Pocket 3
$499 - $669
Starter 2 · Audio
DJI Mic Mini
$149 - $189
Camera system paths
Keep comparing inside the gear ecosystem
Autofocus hybrid kits
Sony gear path
Video, events, wildlife, and full-frame bodies where subject tracking matters.
Pocket video setups
DJI gear path
Vlogging, stabilized solo filming, creator audio, and quick travel video.
Top picks
- Best Pocket GimbalDJI Osmo Pocket 39.0Check price · $499 - $669Check deals
Best for: Travel vloggers and solo creators who want smooth footage with the least kit possible.
Skip if: Fixed wide lens
- PickPanasonic Lumix S5 IIX8.9Check price · $2,000 - $2,200Check deals
Best for: Filmmakers who need professional codecs and external recording.
Skip if: Same autofocus limits as the S5 II
- Best OverallAtomos Ninja V9.0Check price · $549 - $649Check deals
Best for: Hybrid shooters who want better monitoring and a stronger codec in one unit.
Skip if: Adds bulk and draws power
- PickSony TOUGH-G UHS-II SDXC 128GB8.9Check price · $55 - $80Check deals
Best for: Sports and high-bitrate video shooters with UHS-II bodies.
Skip if: Costs more than UHS-I
The confusing part is that camera menus mix different ideas in one place. You may see MOV · H.265 · 10-bit · 4:2:2 · F-Log2 · 200 Mbps, and it looks like one huge format. It is not. It is six separate choices stacked together.
Once you separate those layers, the menu becomes much calmer. You choose a file box, a compression method, a color profile, and a quality level. Then you decide whether your computer, cards, and editing plan can handle it.
If you are still learning exposure, start with the exposure triangle. If you are choosing a camera for video, pair this with best cameras for video and best vlogging cameras.
What is the difference between a container, codec, bit depth, chroma subsampling, and Log?
Pick a recipe below and watch the menu string come apart. Each token is a separate choice, color-keyed to the layer it controls. Tap any token to see what it does.
Spec Decoder
One scary string, six simple choices
A camera menu line is a stack, not one format. This example shows what each part controls before the interactive version loads.
- Editor-standardContainerMOV
A QuickTime wrapper. Common on hybrid cameras; holds many codecs.
- CompactCodecH.265
Efficient compression: better quality per file size, but harder to play back.
- Grade-readyBit depth10-bit
1,024 steps per channel. The normal floor for Log, smooth gradients, real grading.
- Post-friendlyChroma4:2:2
Half colour resolution. Holds up for skin tones, green screen, and colour work.
- Needs a gradeColour profileF-Log2
Fujifilm's flat profile. Looks washed out on purpose to protect highlights and shadows.
- Mid weightBitrate200 Mbps
Doubles the delivery rate. Roughly 25 MB per second to the card.
The container is the least interesting part. MP4 and MOV are boxes. A MOV file can contain H.264, H.265, ProRes, or other codecs. An MP4 file can also contain different codecs. Do not buy a camera because it says MOV; look at what is inside.
The codec matters more. It decides how the camera shrinks raw video data into a file you can store. H.264 is older and easy to play. H.265 is smaller for similar quality but harder to edit. ProRes is bigger but easier for editing. RAW keeps the most control, but creates large files and adds work.
Codec decoder ring
| Codec or format | Plain-English meaning | Use it when | Avoid it when |
|---|---|---|---|
| H.264 | The universal video codec | You want easy playback, small files, fast delivery | You plan to push color hard |
| H.265 / HEVC | More efficient compression than H.264 | You want better quality per file size, especially in 4K | Your computer struggles with playback |
| AV1 | Newer efficient codec used heavily online | You are exporting for platforms or devices that support it | Your camera or editor does not support it well |
| ProRes 422 | Large, edit-friendly production codec | You want smooth editing and strong color files | Card space and storage are tight |
| ProRes RAW | RAW-style video wrapped for compatible editors | You need RAW control in an Apple-friendly pipeline | You edit in software that does not support it cleanly |
| Blackmagic RAW | Blackmagic's compressed RAW video format | You use Blackmagic cameras or Resolve and want RAW control | You need tiny files or universal playback |
For most creators, the practical choice is simple: shoot 10-bit H.265 if your camera and computer can handle it, or H.264 if you need maximum compatibility. Use ProRes when editing speed matters more than file size. Use RAW when the grade, VFX, or production pipeline truly needs it.
Where do proxies fit?
A proxy is a small temporary copy used to make editing smoother. It is a workflow file, not a codec category and not a replacement for the original footage. The editor reconnects the full-quality files for export.
Bit depth: 8-bit versus 10-bit
Bit depth controls how many steps of tone and color the file can store.
Bit Depth
Why 10-bit survives the grade
An 8-bit file has 256 steps per channel. A 10-bit file has 1,024. When you lift shadows, push saturation, or correct Log, the extra steps make gradients hold together.
The interactive version lets you push the grade live. The practical rule is the same: use 10-bit for Log and serious color work, use 8-bit for standard color and fast delivery.
An 8-bit file has 256 values per channel. That is fine for standard color and light edits. Push it hard, especially with a flat Log profile, and you can see banding in skies, walls, and gradients.
A 10-bit file has 1,024 values per channel. That gives a lot more room for Log, color correction, and smooth gradients. If you want to shoot D-Log M, F-Log2, S-Log3, C-Log, V-Log, or any similar flat profile, 10-bit is the normal floor.
Twelve-bit and higher show up in RAW and higher-end formats. More bits are useful when the footage will be graded heavily, keyed, composited, or matched across cameras. They also demand more storage and a cleaner workflow.
Chroma subsampling: 4:2:0 versus 4:2:2
Human eyes notice brightness detail more than color detail, so many codecs save space by recording less color resolution than brightness resolution. That is chroma subsampling.
4:2:0 is common in consumer and web files. It is efficient and usually fine for normal shooting. 4:2:2 keeps more color detail, which helps with grading, green screen, product color, skin tones, and any footage that will be pushed. 4:4:4 keeps full color resolution, but it is mostly a high-end post-production format.
If you are choosing between two similar modes, 10-bit 4:2:2 is the stronger editing file. 8-bit 4:2:0 is the easier and smaller delivery-style file.
Log is not a codec
Log is a color and tone profile. It records a flatter image so highlights and shadows fit into the file with less clipping. It looks washed out on purpose. You are supposed to correct it in editing.
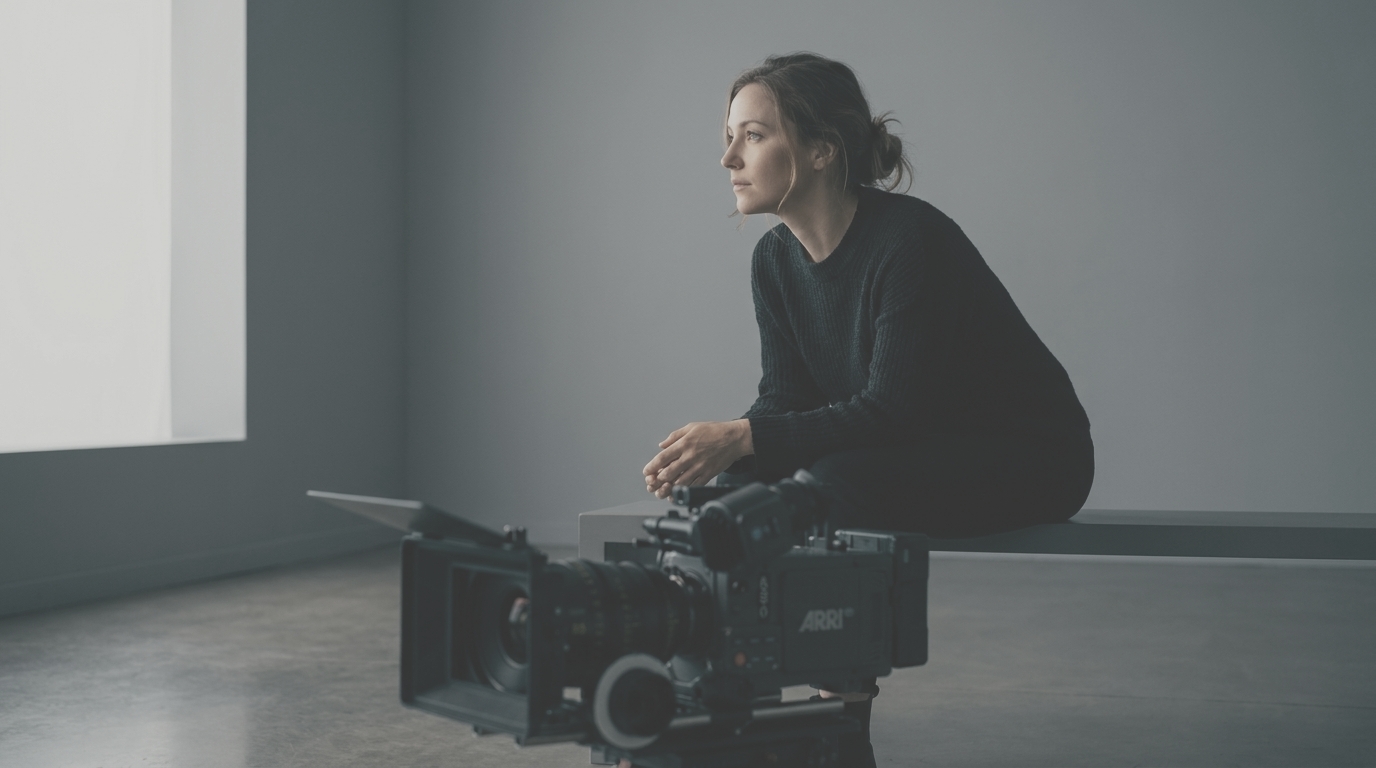
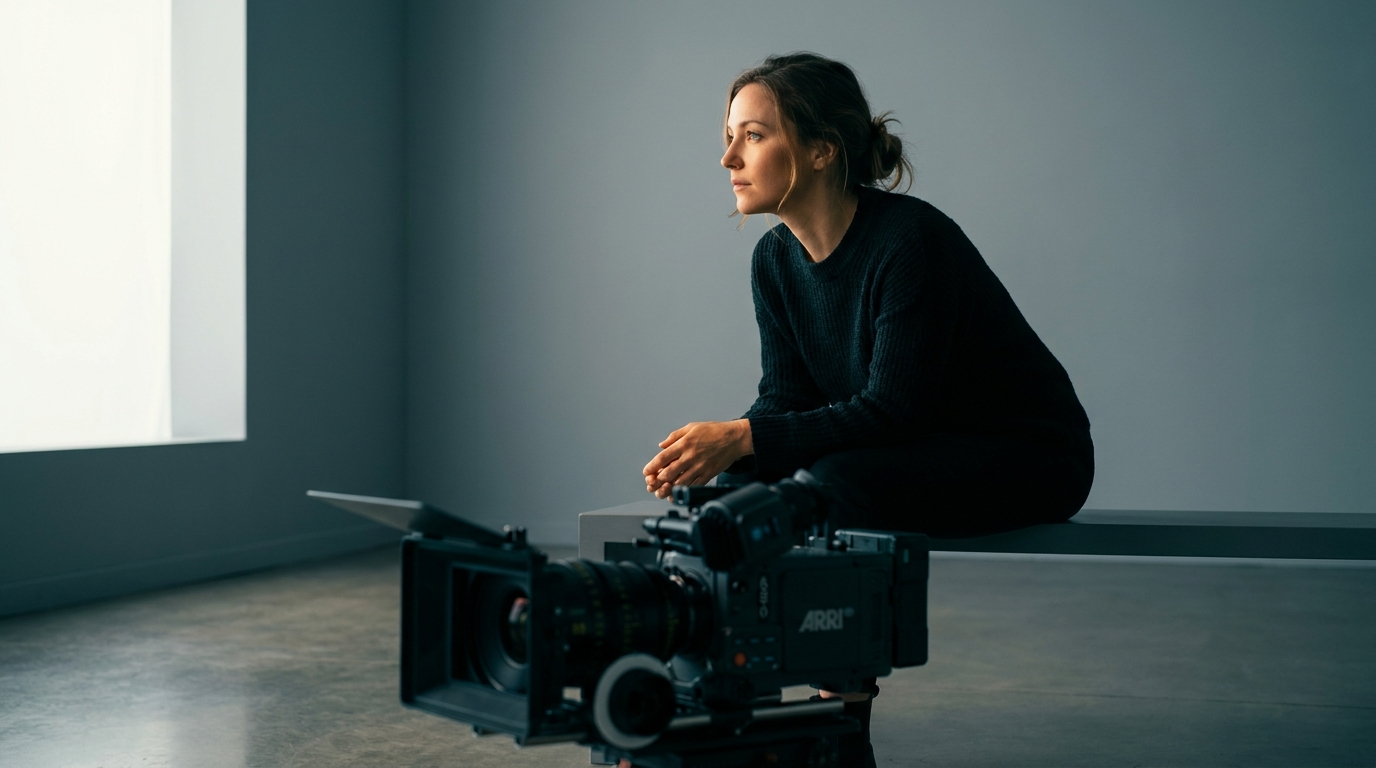
Standard color, often Rec.709, tries to look finished straight out of camera. Log tries to preserve editing headroom. HLG is a different idea: it is an HDR profile for displays and delivery systems that support HDR.
This is the important split:
- Codec: how the file is compressed.
- Log profile: how brightness and color are mapped before compression.
- LUT: a conversion look that turns Log into normal contrast and color.
You can have H.265 in standard color. You can have H.265 in D-Log M. You can have ProRes in F-Log2. The codec and the profile are separate choices.
The brand names
Camera brands name their Log curves differently. The names are annoying, but the logic is consistent.
| Brand | Common names | What to know |
|---|---|---|
| DJI | D-Log M, D-Log, D-Log2 | D-Log M is the easier mid-flat profile on many creator cameras. D-Log and D-Log2 are deeper profiles on more advanced models. |
| Fujifilm | F-Log, F-Log2 | F-Log2 is flatter and holds more dynamic range than F-Log, but it needs more careful exposure and grading. |
| Sony | S-Log2, S-Log3, S-Cinetone | S-Log3 is the common serious grading profile. S-Cinetone is a more finished look with less grading work. |
| Canon | Canon Log, C-Log2, C-Log3 | C-Log3 is usually the easier all-round Log choice. C-Log2 is flatter and aimed at maximum range on capable bodies. |
| Panasonic | V-Log, V-Log L | Panasonic's Log profiles are common in hybrid and cinema bodies. V-Log L is a lighter version for smaller sensors and older bodies. |
| Nikon | N-Log | Nikon's flat profile for grading, often used with external recorders on some bodies. |
| Blackmagic | Film / Gen 5 Film | Blackmagic's flat color science used with Blackmagic RAW and DaVinci Resolve. |
Do not choose the flattest profile because it sounds professional. Choose the profile that matches your file and your plan. A 10-bit file with a mild Log profile is often better for a solo creator than a very flat profile exposed badly.
What D-Log M means
D-Log M is DJI's creator-friendly Log profile. It is flatter than normal color and gives more room to adjust highlights, shadows, and saturation, but it is not as flat as a full cinema Log curve. That is the point. It gives travel, drone, action, and pocket-camera shooters more grading room without making every clip miserable to correct.
Use D-Log M when:
- The camera records it in 10-bit.
- You will apply a proper conversion LUT or correct the footage manually.
- The scene has bright sky, white walls, windows, snow, water, or hard sun.
- You want to match clips from several cameras.
Skip D-Log M when:
- You need fast files straight from the camera.
- You are shooting in very low light and do not want extra noise showing up in the grade.
- You do not want to color correct.
The same basic rule applies to F-Log2, S-Log3, C-Log3, V-Log, and N-Log. Log protects the file for editing. It does not make the image better automatically.
RAW video is not the same as photo RAW
Photo RAW is one still frame of sensor data. Video RAW is a stream of frames, usually compressed in a format like Blackmagic RAW, ProRes RAW, REDCODE RAW, or another brand-specific system.
The benefit is control. Depending on the format and software, RAW video can let you adjust white balance, ISO interpretation, highlight recovery, debayering, and color science with more freedom than a normal compressed file. It is useful for high-end color work, VFX, and productions where the image will be pushed hard.
The cost is everything around it: larger files, faster cards or SSDs, more drive space, heavier backups, and a computer that can play the files. RAW is a production choice, not a default quality button.
For most YouTube, travel, vlog, and small-business work, 10-bit Log is the practical ceiling. RAW is there when the job actually needs it.
All-Intra versus Long GOP
Some cameras let you choose All-Intra or Long GOP.
Long GOP compresses groups of frames together. It gives smaller files, but the computer has to work harder to reconstruct each frame during editing. All-Intra compresses each frame more independently. Files are much bigger, but editing can feel smoother and individual frames are easier for the software to handle.
If storage is tight, use Long GOP. If your camera, cards, and storage can handle it, and editing smoothness matters, All-Intra is nicer to work with.
What to choose in real life
Here is the practical menu answer.
| Situation | Sensible choice |
|---|---|
| Fast social clips | H.264 or H.265, standard color, 8-bit or 10-bit |
| Beginner vlogging | Standard color, 4K 24p or 30p, good audio |
| Travel with grading | 10-bit H.265, D-Log M or similar mild Log |
| YouTube talking-head work | 10-bit H.265 or H.264, standard color or mild Log |
| Paid video with color correction | 10-bit 4:2:2 Log, ProRes if file size is acceptable |
| Green screen or product color | 10-bit 4:2:2, controlled light, careful white balance |
| Narrative or heavy grade | ProRes, RAW, or a high-bitrate 10-bit Log mode |
| Slow computer | H.264, standard color, or use proxies |
If you do not know what to pick, choose 4K 24p or 30p, 10-bit if available, normal color if you do not edit, and Log only when you are ready to correct it. Get clean exposure and sound first. The codec cannot rescue sloppy capture.
Storage and card math
Bitrate tells you how fast storage fills. Divide megabits per second by 8 to get megabytes per second.
So a 200 Mbps mode writes about 25 MB/s. Ten minutes at that rate is roughly 15 GB before overhead. A 400 Mbps mode doubles that. ProRes and RAW can climb much higher.
That is why memory cards and portable SSDs are not boring accessories for video. A card that is fine for stills may fail on a high-bitrate video mode. Look for the sustained write rating, not the biggest number on the label.
When the format justifies buying gear
Most codec upgrades do not require a new camera. They require a cleaner workflow. Buy gear only when it removes a real limit: the camera cannot record the profile you need, the card cannot sustain the bitrate, the drive is too slow for offload or direct recording, or the monitor recorder gives you a file your camera cannot write internally.
| Your real problem | Better buy | Why |
|---|---|---|
| You want travel video with smooth walking shots and easy 10-bit D-Log M | Pocket gimbal camera | The stabilization and color profile matter more than building a mirrorless rig. |
| You need internal ProRes, SSD recording, and serious video menus | Video-first hybrid body | The codec tools are in the camera instead of bolted on later. |
| Your camera has weak internal recording but clean HDMI | Monitor recorder | It can record edit-friendly files to SSD while adding scopes and a larger screen. |
| Recording stops or cards cannot keep up | Faster card | The sustained write rating has to beat the camera's bitrate. |
| Offloads and backups are the bottleneck | Rugged SSD | Video gets safer when the files leave small camera cards quickly and exist in two places. |
The DJI Osmo Pocket 3 is the simplest example of a codec feature that makes sense in the right body. It gives solo creators stabilized walking footage, a one-inch sensor, and 10-bit D-Log M without asking them to balance a gimbal or rig a mirrorless camera. If your work is travel, daily video, or walk-and-talk clips, that can be a better answer than a bigger camera with a scarier menu.
The Panasonic Lumix S5 IIX is where codec features start to become the reason to buy the body. Internal ProRes, external RAW output, all-intra modes, and SSD recording make sense when you actually edit, grade, and manage larger files. It is overkill for clips that never leave standard color, but useful for a creator who has outgrown basic 10-bit H.265.
The Atomos Ninja V is the upgrade when your camera's sensor and HDMI output are better than its internal files. A monitor recorder can give you ProRes-style editing files, a larger screen, exposure tools, and SSD recording in one box. It adds batteries, cables, mounting, and weight, so it is a workflow tool rather than a casual accessory.
The Sony TOUGH-G UHS-II card is the kind of media high-bitrate modes ask for. The important number is the V rating, which tells you the minimum sustained write speed for video. If a camera's best 4K or 6K mode needs faster media, a bargain card is not a bargain anymore.
The SanDisk PRO-G40 is the SSD to look at when direct recording, RAW, ProRes, or fast field offloads are part of the plan. For basic backup, a cheaper drive can be fine. For heavier video files, sustained speed and a rugged body become part of the shoot, not a luxury.
Common mistakes
The first mistake is shooting Log in 8-bit because the menu allows it. The file may look fancy, but it can break apart when corrected. If you want Log, choose 10-bit when the camera offers it.
The second mistake is using Log for every scene. In controlled light, standard color can be cleaner and faster. In low light, a flat profile can make noise more visible once you lift contrast.
The third mistake is confusing a delivery codec with a capture codec. H.264 is excellent for sharing. ProRes is excellent for editing. RAW is excellent for control. Those are different jobs.
The fourth mistake is ignoring the edit computer. H.265 can be compact and beautiful but still feel awful on an older laptop. Proxies are not cheating; they are normal.
The fifth mistake is buying a camera for a codec without budgeting for the cards, drives, backups, and time that codec demands.
The sane default
For most people, the best default is:
- 4K 24p or 30p.
- 10-bit if available.
- H.265 if your computer handles it, H.264 if compatibility matters more.
- Standard color if you want fast turnaround.
- Mild Log, such as D-Log M or C-Log3, only if you will color correct.
- ProRes or RAW only when the project justifies the storage.
That setup gives you clean files without turning every shoot into a data-management problem.
Primary sources
- Apple: About Apple ProRes
- Apple: About Apple ProRes RAW
- Blackmagic Design: Blackmagic RAW
- DJI: What is Osmo Pocket 3 D-Log M?
- Fujifilm: F-Log2 technical data
Is D-Log M the same as RAW?
No. D-Log M is a flat color profile recorded into a compressed video file. RAW video records a more sensor-level data stream with far more post-production control. D-Log M is easier and smaller; RAW is heavier and more flexible.
Should I use H.264 or H.265?
Use H.264 when compatibility and easy playback matter most. Use H.265 when you want better quality for the file size and your camera, computer, and editor handle it cleanly. If H.265 playback stutters, use proxies or switch to H.264.
Is F-Log2 better than F-Log?
F-Log2 is flatter and designed to hold more dynamic range, so it can be better for heavy grading on capable Fujifilm bodies. It also needs more careful exposure and a proper correction. F-Log is easier when you want a simpler grade.
What is 10-bit 4:2:2 and why does everyone mention it?
It means the file keeps more tone and color information than 8-bit 4:2:0. That extra data helps with Log correction, skin tones, green screen, and heavy color edits. It is not required for casual clips, but it is a strong target for serious video.
Do I need ProRes or RAW for YouTube?
Usually no. YouTube delivery compresses everything again, so ProRes and RAW matter mainly because they make editing and grading stronger before export. For most YouTube work, a clean 10-bit H.265 or H.264 file is enough.
Keep going
Where this guide fits
Follow the full path, or jump to the next guide, tool, or gear page that matches what you are doing.
Shoot kits
Buy around the job, not the spec sheet
Creator kit
Solo vlogging kit
Approx. total
$1,066
A stabilized pocket camera, clean wireless audio, fast media, a backup drive, and a small light for one-person video.
Best low-friction creator kit
Buy order: start with the first piece that makes the job possible, then add the support pieces that remove friction.
Step 1 · Camera
DJI Osmo Pocket 3
Stabilized footage, face tracking, and a useful sensor without a full camera rig.
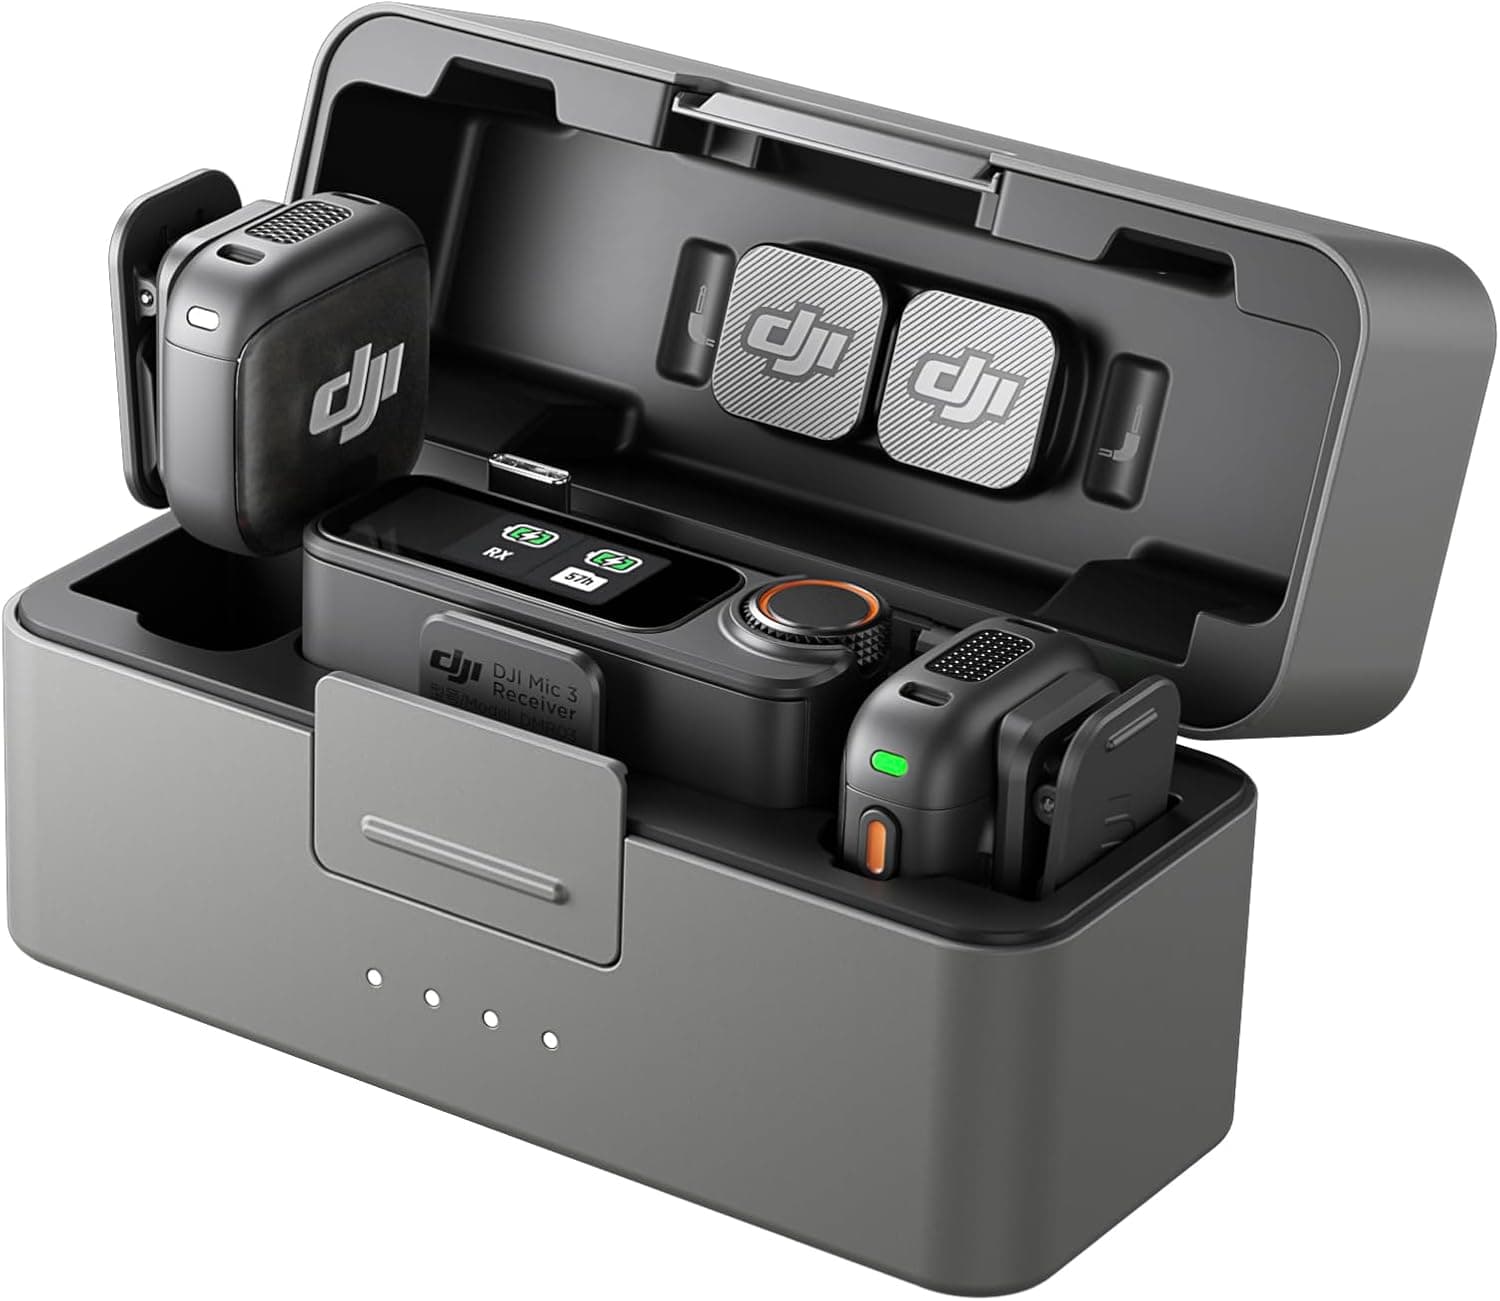
Step 2 · Audio
DJI Mic Mini
Fixes the thin, distant sound that gives away beginner video.
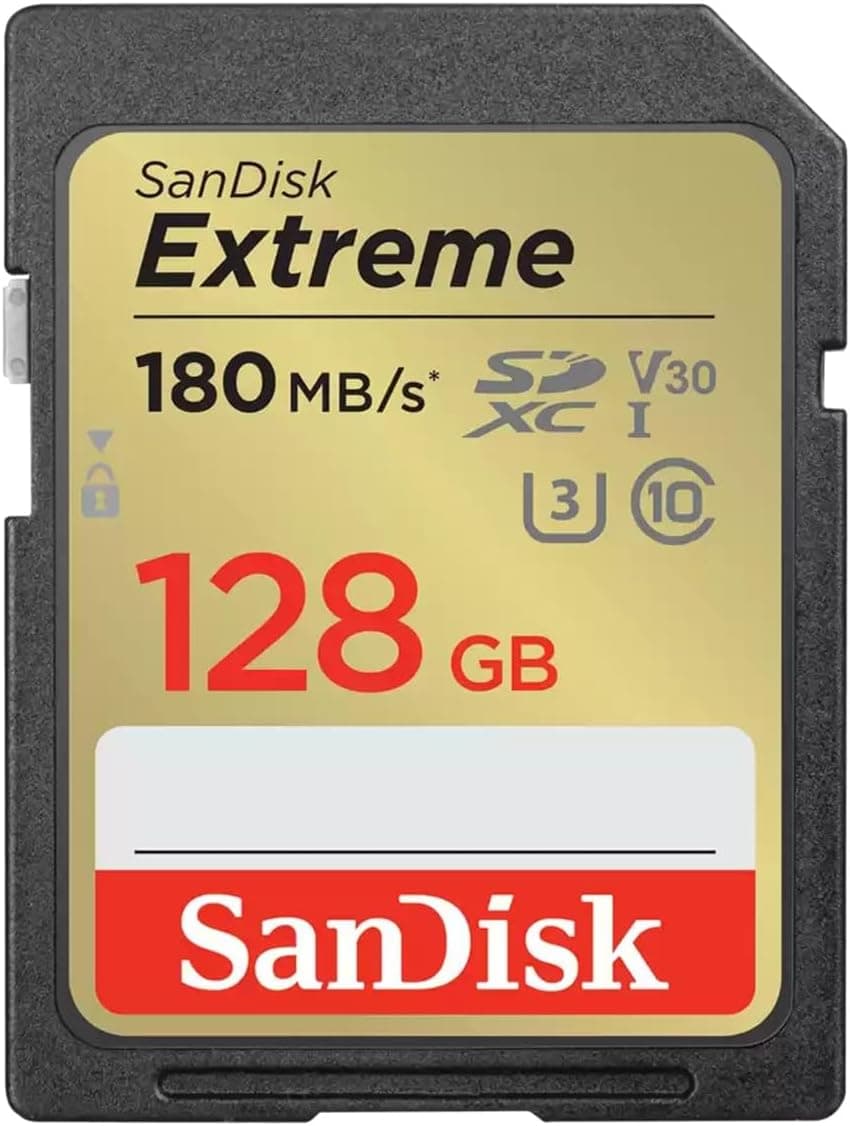
Step 3 · Memory
SanDisk Extreme Pro SDXC 128GB
Enough speed for normal 4K capture without overspending on cards the camera cannot use.
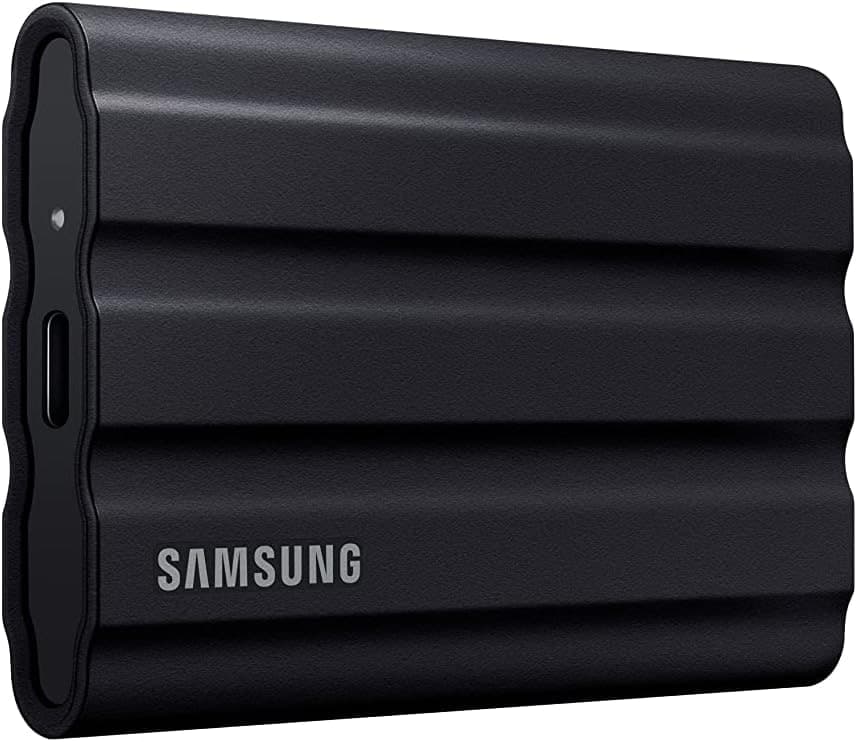
Step 4 · Backup
Samsung T7 Shield
A rugged pocket SSD for offloading footage before a card gets reused.
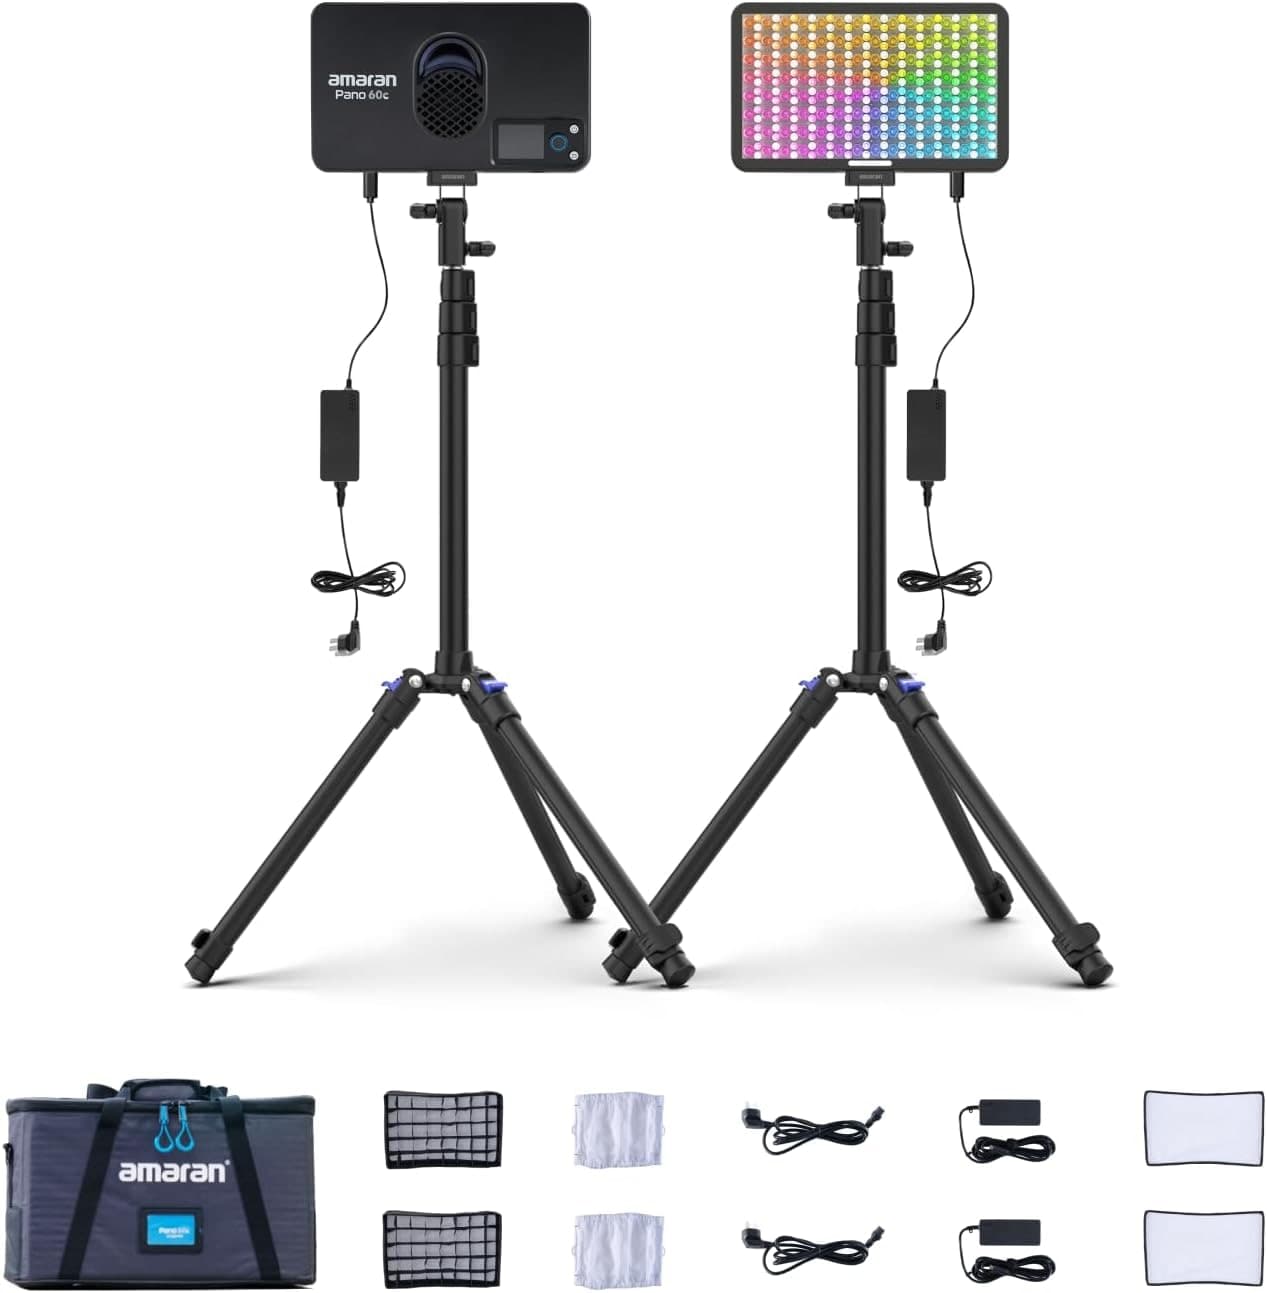
Step 5 · Light
Amaran P60c RGBWW Panel
Soft, controllable fill for talking-head clips, product details, and ugly rooms.
Search AmazonRetailer search, not an exact listing. Compare similar gear first if the result page looks noisy.
Prices are rough catalog totals. Retailer prices change, and you can swap pieces to fit your system.
Final decision
Buy only if the top pick still fits
The default pick is DJI Osmo Pocket 3. It makes sense when travel vloggers and solo creators who want smooth footage with the least kit possible..
Skip it if fixed wide lens.
9.0
Aperture Score
Related Learn guides
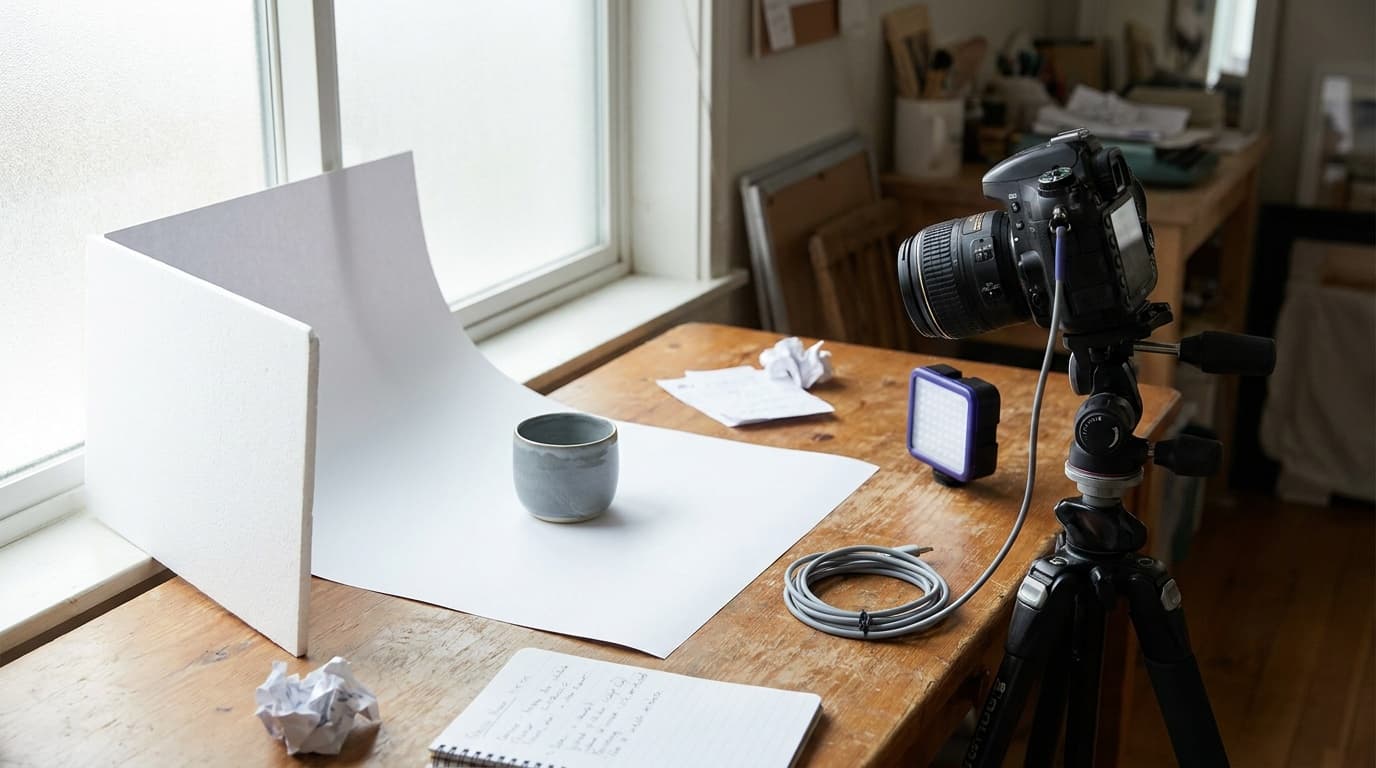
How to Photograph Products at Home: A Window and a Sheet
You do not need a studio to shoot clean product photos. A bright window, one diffuser, and a careful exposure get you most of the way there.
How to Photograph Pets: Settings for Sharp, Lively Shots
Pets move fast and rarely pose, so you need a fast shutter, continuous autofocus, and patience. Here are the settings and the technique that get the shot.
National Park Photography Rules (2025 EXPLORE Act): Permits, Drones, and What Changed
The EXPLORE Act rewrote when you need a permit to photograph in a US national park. The current rule, the drone ban, and park-by-park detail.
Photography Rules by State: Permits, State Parks, and Who Actually Issues What
What a US state controls when you photograph there, what it does not, and the state-by-state guides covering permits, state parks, drones, and public-space law.
Researched, not personally tested: picks compare specifications, available owner feedback, and established expert sources. As an Amazon Associate I earn from qualifying purchases. We may earn a commission from links here, at no extra cost to you. How we research →