We may earn a commission from links on this page, at no extra cost to you. Picks are researched, not sponsored.
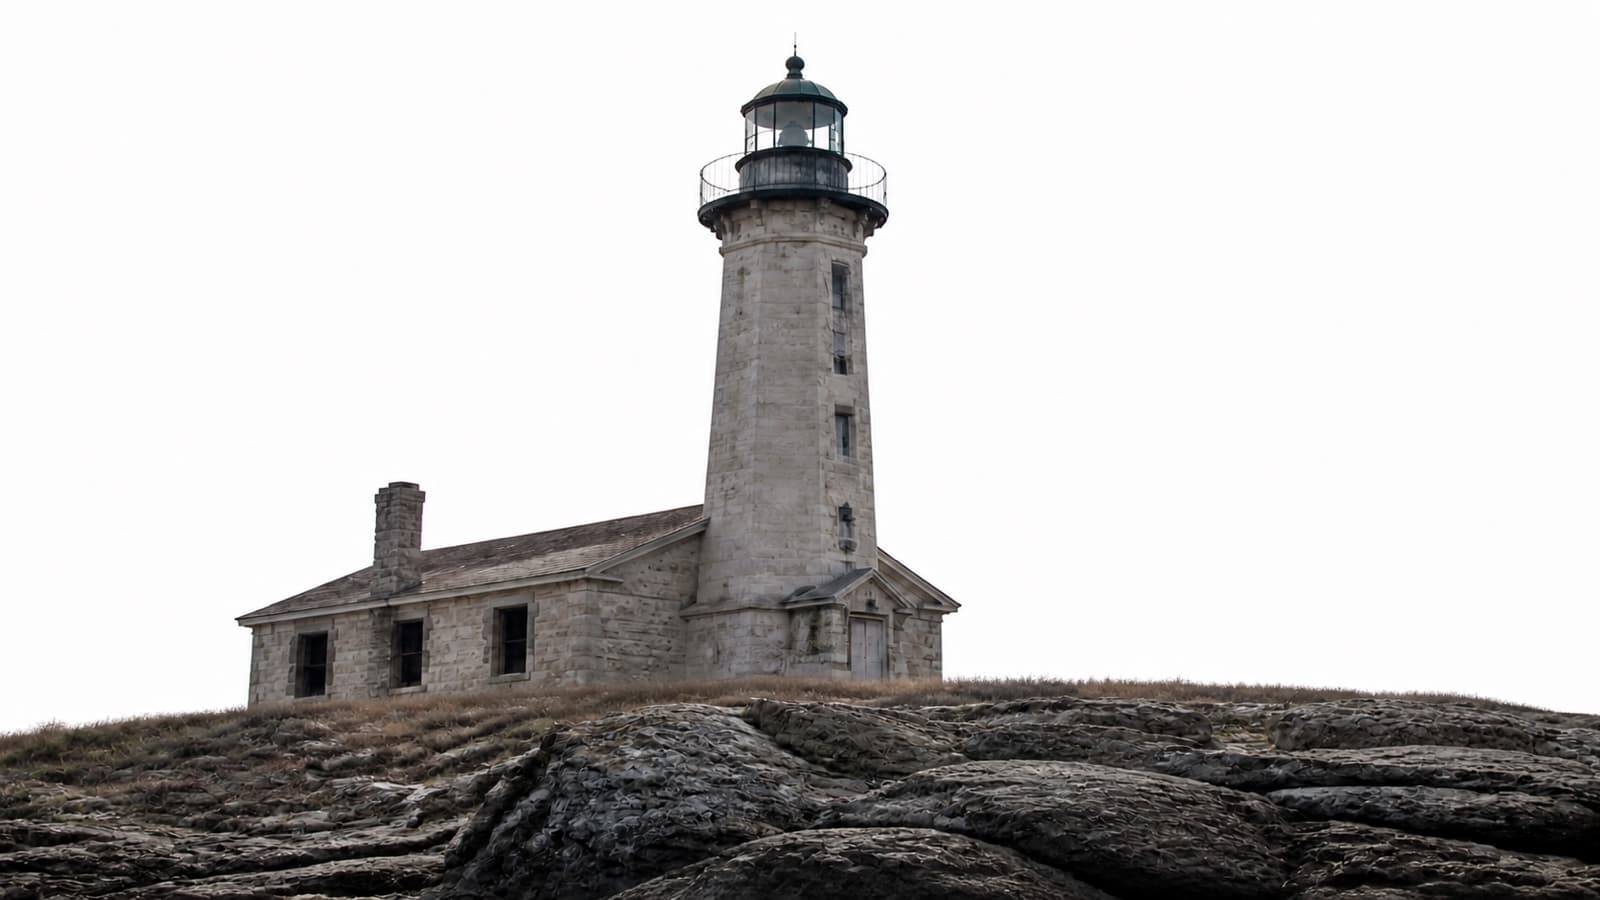
The camera is choosing between a bright sky and a darker subject. Your eyes adapt as they move around the scene, but one exposure has a fixed range. When the sky exceeds that range, its brightest tones become featureless white.
Decide whether the sky is actually clipped
| What you see | What it means | Next move |
|---|---|---|
| Pure white area with no texture | Highlight clipping is likely | Lower exposure and check the histogram |
| Pale gray overcast sky with little texture | The sky itself may be flat | Wait for light, recompose, or accept it |
| White sky in JPEG but detail in raw | Processing clipped the preview | Reduce highlights or exposure in the raw editor |
| Subject is right but sky is white | Scene range exceeds one exposure | Fill the subject, bracket, or choose which area matters |
| Sky is blue but clouds are blank | Cloud highlights clipped first | Protect the brightest cloud detail |
Nikon's histogram guide explains that a heavy concentration against the right edge means highlights may be blown out. A playback preview alone can be misleading because screen brightness and ambient light change how it looks.
Protect the sky while shooting
1. Turn on a warning you can trust
Use the luminance or RGB histogram, highlight alert, or zebra display. Sony describes zebras as a warning for areas near overexposure, not an effect recorded into the file.
Check the important highlight, not every reflection. The sun, chrome, and small bulbs can clip naturally. A cloud, pale face, wedding dress, or product label usually needs texture.
2. Lower exposure in a controlled way
Start with negative exposure compensation in aperture or shutter priority. In manual mode, use a faster shutter, smaller aperture, or lower ISO. Take another frame and confirm that the histogram has moved away from the right wall.
Do not darken the file blindly. The goal is to preserve the highlight that matters while keeping enough shadow information for the subject.
3. Shoot raw when recovery matters
A raw file can retain highlight information that the camera's JPEG preview does not show. It cannot recover detail that every color channel has fully clipped. Adobe's highlight-recovery paper explains why partial channel data can sometimes rebuild luminance, while fully missing data remains missing.
4. Reduce the brightness difference
For a nearby person or product, add fill flash, a reflector, or continuous light to the darker subject. Then you can expose lower for the sky without turning the subject into a silhouette.
For a landscape, wait for softer light, move the sun out of frame, use a graduated ND filter when the horizon suits it, or make a bracketed sequence for HDR. Keep the camera steady and avoid HDR when moving subjects will create alignment artifacts.
5. Change the composition when the sky has nothing to offer
An overcast sky can be correctly exposed and still look blank. Lower the horizon, use trees or architecture to break up the white area, or exclude the sky. Exposure cannot create cloud shape that was not visible in the light.
Recover what is still in the file
In a raw editor, lower Highlights first, then make a smaller Exposure adjustment if needed. Watch color and edge transitions. Extreme recovery can produce gray patches, strange color, or halos around trees and buildings.
If the sky remains a flat white shape after a substantial exposure reduction, the data is probably gone. Replacing it with another sky is a composite, not recovery. That can be a valid creative edit, but it should not be confused with revealing information from the original exposure.
Avoid the opposite mistake
Protecting highlights can make the subject too dark and noisy. If you raise those shadows heavily later, the sky may look better while the subject falls apart. The answer is often to change the light or make more than one exposure, not to force one raw file beyond what the scene allowed.
The histogram guide, exposure compensation guide, and backlight guide cover the broader controls behind this problem.
Primary sources
- Nikon: Learning How to Use Your Camera's Histogram
- Sony: What Zebra Pattern Does
- Adobe: Highlight Recovery in Camera Raw
Can I recover a completely white sky in Lightroom?
Only if the raw file still contains highlight information. Lower Highlights and Exposure to check. If the area stays uniformly white and all channels are clipped, there is no original sky detail to recover.
Why does exposing for the sky make the person too dark?
The brightness range between the person and sky is wider than one exposure can hold cleanly. Add fill light, move the person into brighter light, wait for softer conditions, or combine bracketed exposures when the subject is still.
Should the histogram ever touch the right edge?
It can when the frame contains the sun, lamps, or specular reflections that do not need texture. Protect the highlights that carry important detail rather than trying to keep every pixel below white.
Keep going
Next useful steps
Pick one. Each link continues the same job without starting the research over.
Related Learn guides

Content Credentials and C2PA Explained for Photographers
Content Credentials record a photo's signed provenance and edits. Learn what C2PA proves, what it cannot prove, and how capture-to-export workflows work.
Open Gate Video Explained: When 3:2 Is Worth It
Open Gate records a taller sensor area for flexible 16:9, 9:16, and square crops. See when it helps, what it costs, and how to frame it correctly.
Pre-Capture Photography Explained: Get the Frame Before the Click
Pre-Capture buffers photos before the shutter is fully pressed. Learn how it works, which settings change, and when RAW, flash, or focus may be limited.
RAW vs JPEG: Which File Format Should You Shoot?
RAW keeps all your sensor data for maximum editing freedom; JPEG is smaller and ready to share. Here is how they differ and when each one is the right call.
Researched, not personally tested: picks compare specifications, available owner feedback, and established expert sources. As an Amazon Associate I earn from qualifying purchases. We may earn a commission from links here, at no extra cost to you. How we research →