We may earn a commission from links on this page, at no extra cost to you. Picks are researched, not sponsored.
The problem
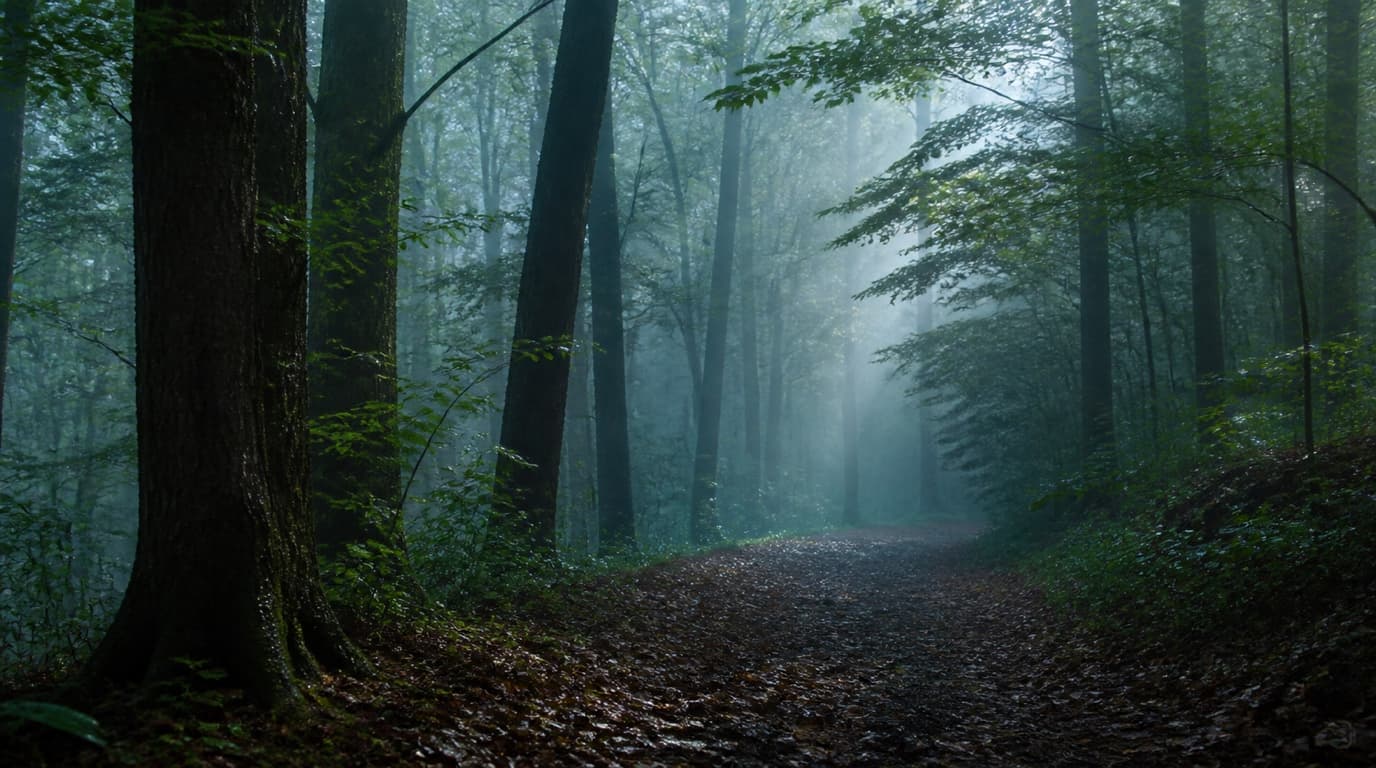
Fog is suspended water that scatters light evenly in every direction. That scattering kills contrast, washes out color, and removes the depth cues your eye normally relies on. Distant objects fade to pale silhouettes, and the whole scene compresses into soft gray layers. This is the appeal, but it creates three technical headaches.
First, like snow, a bright foggy scene fools the meter into underexposing, so your fog comes out dingy instead of luminous. Second, autofocus needs contrast to lock, and fog removes contrast, so the camera hunts and fails. Third, everything looks the same distance away, which makes composition hard: without a clear subject, a foggy frame is just gray mush.
The settings
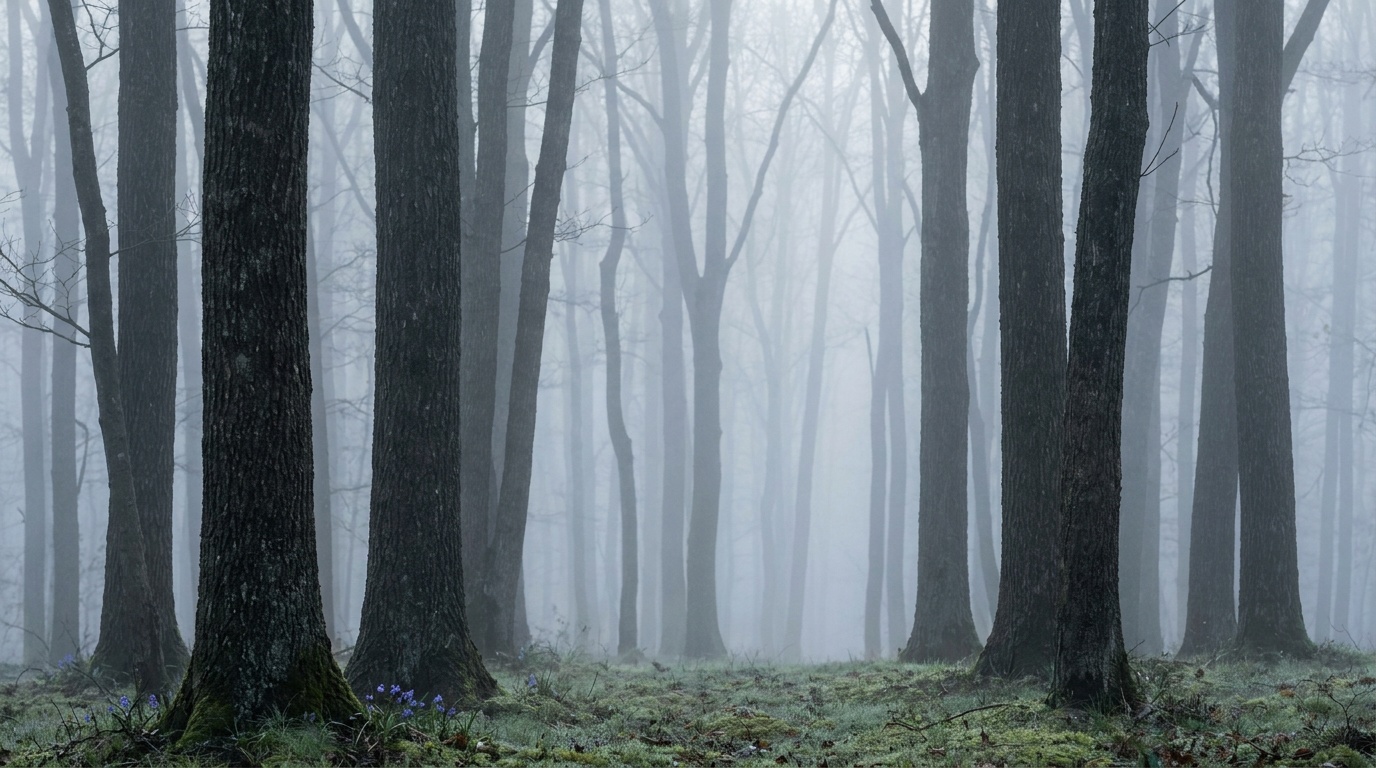
Fog is usually bright but soft, so the exposure is easy once you compensate for the meter. A typical foggy landscape lands around:
A mid aperture like f/8 keeps your anchor subject sharp without trying to render fog detail that does not exist. There is no point stopping all the way down for distant sharpness in fog, because the far scene is soft by nature.
A useful trick: fog is essentially a giant softbox, so the exposure barely shifts across the frame, but the white balance can wander. Auto white balance often makes fog look slightly green or magenta. Setting a fixed Daylight or Cloudy preset keeps the gray neutral and clean. As with snow, RAW gives you the latitude to correct the tone afterward.
A step-by-step for a foggy morning
- Get out early. Fog forms overnight and burns off after sunrise, so the window is short. Scout the location the day before.
- Add exposure. Start at +0.7 to +1 EV so the fog reads luminous rather than dingy.
- Switch to manual focus. Autofocus will hunt. Set focus on the nearest object with a hard edge using magnified live view or focus peaking.
- Find one anchor. A single tree, figure, fence, or path gives the eye somewhere to land. Compose around it.
- Shoot toward the light. Backlit fog glows and reveals light beams; frontlit fog stays flat and gray.
- Resist over-editing. Keep the soft, low-contrast look. Heavy contrast and clarity sliders destroy the whole effect.
Focusing in fog
When autofocus hunts, switch to manual focus and set focus on the nearest object with an edge: a branch, a fence, a person. Use focus peaking or magnified live view if your camera has it. Back-button focus helps you lock once and stop the camera from re-hunting between frames; the back-button focus guide covers the setup. The autofocus modes guide is worth reading if your camera keeps failing to lock in soft light.
The technique
Fog is all about a single strong subject against the softness. One tree, one figure, one boat, one road leading in. The fog does the work of simplifying the background; your job is to give the eye something to land on.
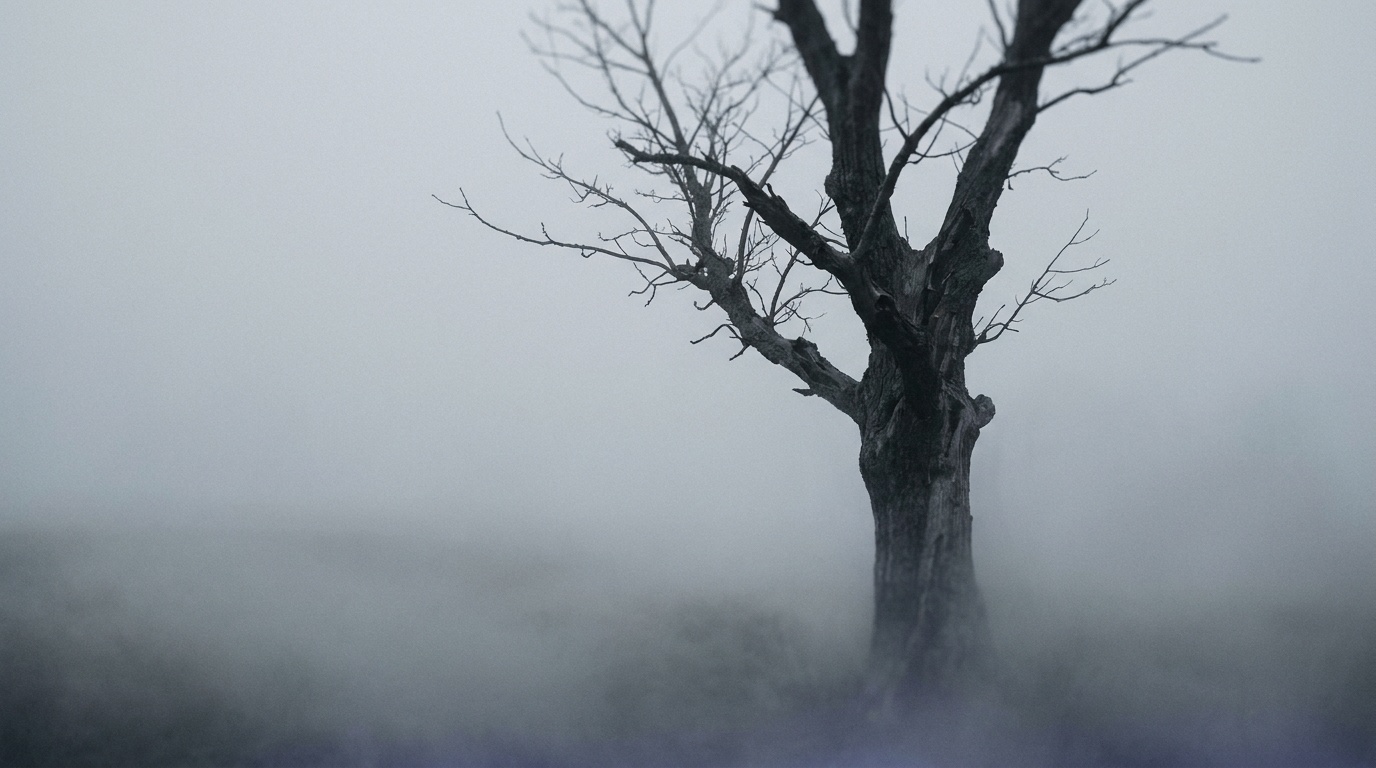
Layers also help: when objects sit at different distances, fog renders each one progressively paler, which creates a natural sense of depth from the very thing that removes it.
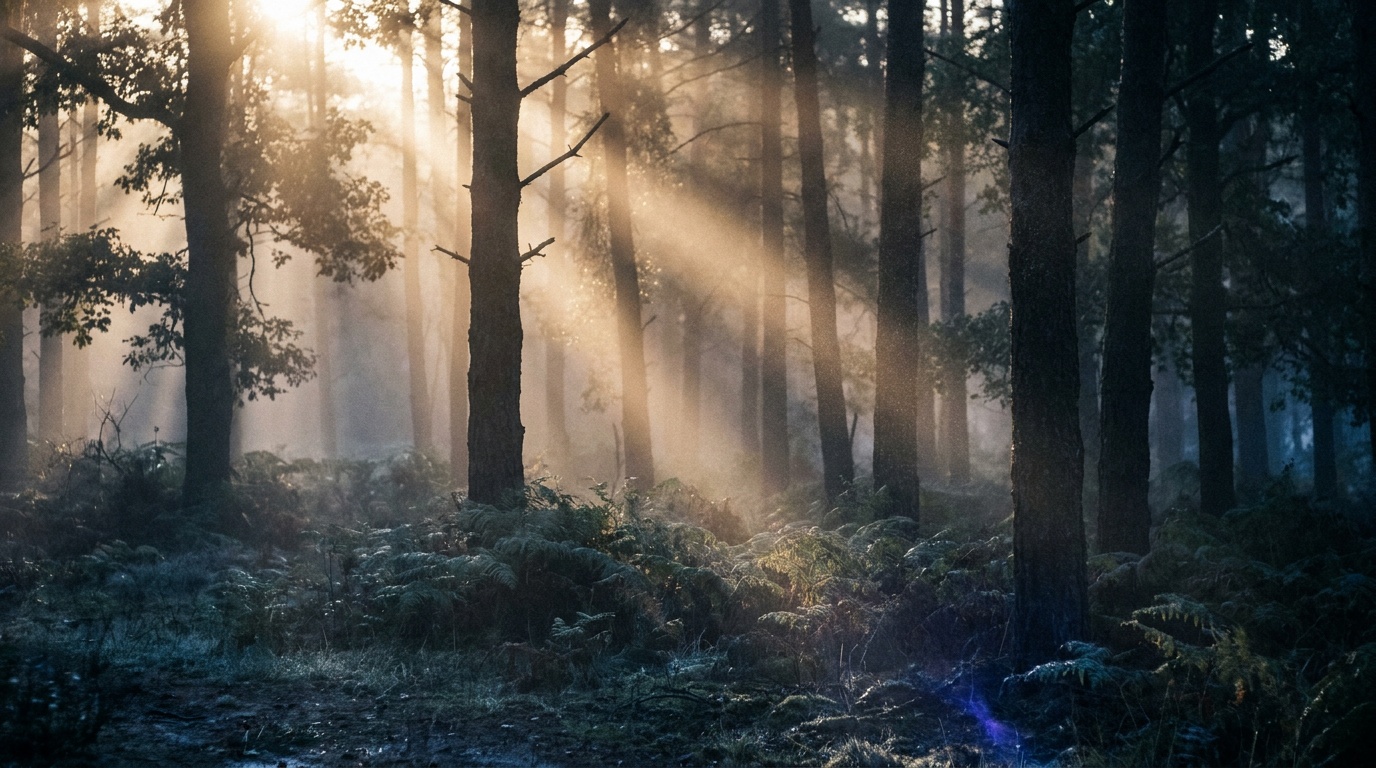
Light direction still matters. Backlit fog glows and reveals shafts and beams, especially with the sun low. Frontlit fog is flatter and grayer. If you can, shoot toward the light source through the fog for the most luminous result, the same backlighting logic as backlight and silhouettes.
Common mistakes
- No exposure compensation. Bright fog underexposes to gray. Add light and check the histogram.
- Fighting autofocus. It will lose in low contrast. Switch to manual and focus on a near edge.
- No subject. A frame of pure fog is just gray. Anchor it with one clear element.
- Overcorrecting in editing. Adding heavy contrast and clarity destroys the whole point of fog. Keep the soft, low-contrast look in post.
Gear notes
Fog is essentially fine, wet air, so the same moisture rules apply as light rain: a lens hood, microfiber cloths for the inevitable damp on the front element, and care with condensation when moving between temperatures. Dawn fog often coincides with cold, so battery life suffers; keep a spare warm. A tripod is genuinely useful here because dense fog at dawn is dim and you may want slow shutter speeds. See protecting your gear in bad weather for the full routine.
Where this fits
Fog is one of the most reliably beautiful conditions in landscape photography, turning ordinary scenes into something graphic and moody. The settings are just exposure compensation and the exposure triangle applied to a low-contrast scene, plus a willingness to focus manually when the camera gives up.
Why does my camera struggle to focus in fog?
Autofocus needs contrast to lock, and fog removes contrast almost entirely. The fix is to switch to manual focus and set it on the nearest object with a visible edge, like a branch or fence, using focus peaking or magnified live view to confirm. Once locked, back-button focus stops the camera from re-hunting.
Do I need to add or subtract exposure in fog?
Add it. Like snow, a bright foggy scene fools the meter into underexposing, leaving the fog gray and dingy instead of luminous. Start at +0.7 to +1 EV of exposure compensation and verify with the histogram, which should show a tall, narrow hump pushed toward the right.
What is the best time of day for fog photography?
Dawn and shortly after sunrise. Fog most often forms overnight and burns off as the sun rises, so the soft early light combined with thick fog gives the most atmospheric, glowing results. Backlighting the fog with the low sun produces visible light beams and the brightest, cleanest look.
Keep going
Next useful steps
Pick one. Each link continues the same job without starting the research over.
Related Learn guides

Content Credentials and C2PA Explained for Photographers
Content Credentials record a photo's signed provenance and edits. Learn what C2PA proves, what it cannot prove, and how capture-to-export workflows work.

Open Gate Video Explained: When 3:2 Is Worth It
Open Gate records a taller sensor area for flexible 16:9, 9:16, and square crops. See when it helps, what it costs, and how to frame it correctly.

Pre-Capture Photography Explained: Get the Frame Before the Click
Pre-Capture buffers photos before the shutter is fully pressed. Learn how it works, which settings change, and when RAW, flash, or focus may be limited.

RAW vs JPEG: Which File Format Should You Shoot?
RAW keeps all your sensor data for maximum editing freedom; JPEG is smaller and ready to share. Here is how they differ and when each one is the right call.
Researched, not personally tested: picks compare specifications, available owner feedback, and established expert sources. As an Amazon Associate I earn from qualifying purchases. We may earn a commission from links here, at no extra cost to you. How we research →