We may earn a commission from links on this page, at no extra cost to you. Picks are researched, not sponsored.
Photography looks technical from the outside, with dials, numbers, and a lot of gear talk. In practice, most early progress comes from three things that cost nothing: noticing light, simplifying the frame, and taking a lot of pictures. The camera settings matter, but they make far more sense once you know what you want the picture to look like.
This guide is the starting path through Aperture Authority's fundamentals. Each step links to a deeper guide when you are ready for it.
Step 1: Start with the camera you have
A modern phone is a capable first camera. It handles exposure and focus automatically, which lets you concentrate on light and composition. Two features are worth turning on now:
- A grid. On iPhone, Apple's camera guide says to turn on Grid and Level under Settings, then Camera. On Pixel phones, Google's help page puts gridlines in the Camera app settings. The grid helps you place subjects and keep horizons straight.
- Tap to focus and adjust brightness. Apple's guide explains that you can tap where you want focus, drag the exposure control up or down, and touch and hold to lock focus and exposure (AE/AF Lock). Most phones have a similar control. Learning to make a photo slightly darker or brighter on purpose is your first real exposure decision.
If you already own an interchangeable-lens camera, start it in an automatic or semi-automatic mode and follow the same steps. You can learn the manual controls at Step 4.
Step 2: Learn to see light
Light is the subject of every photograph, whatever is in front of the lens. Before worrying about settings, start noticing three things:
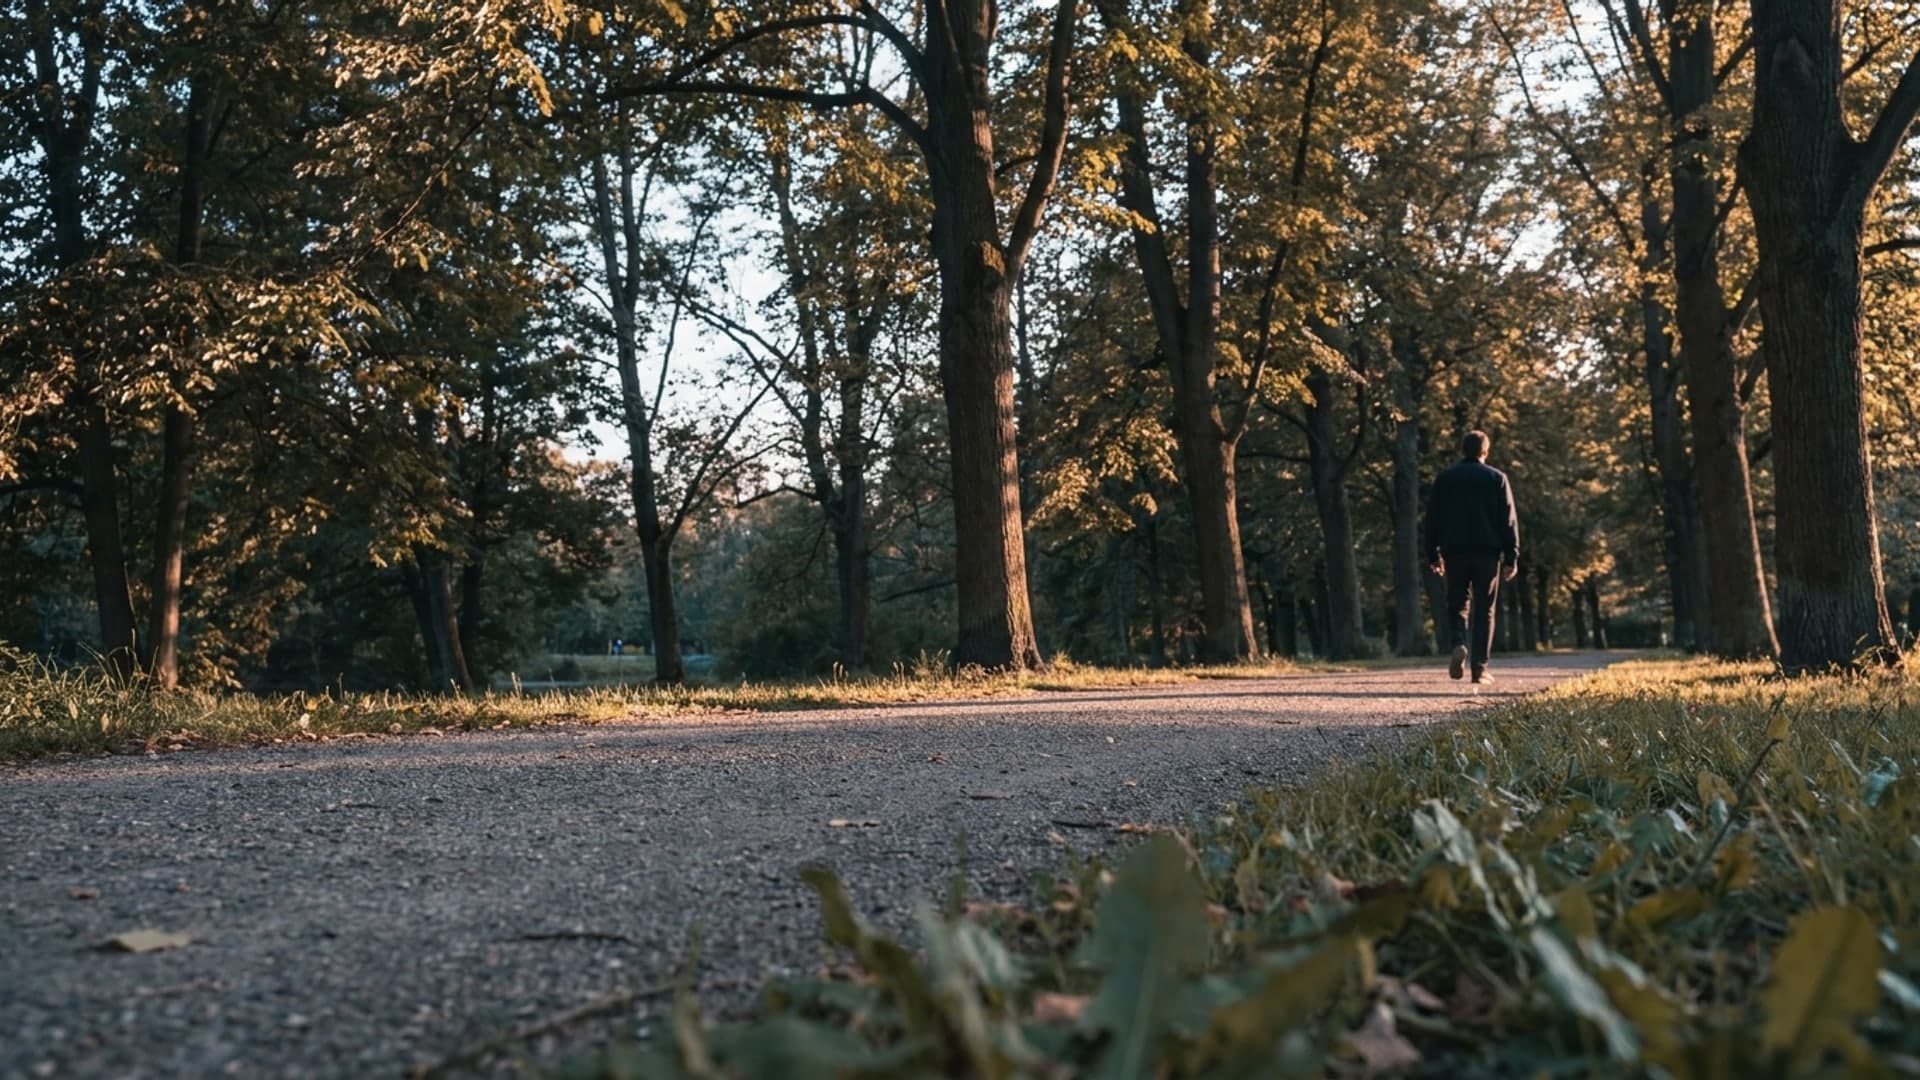
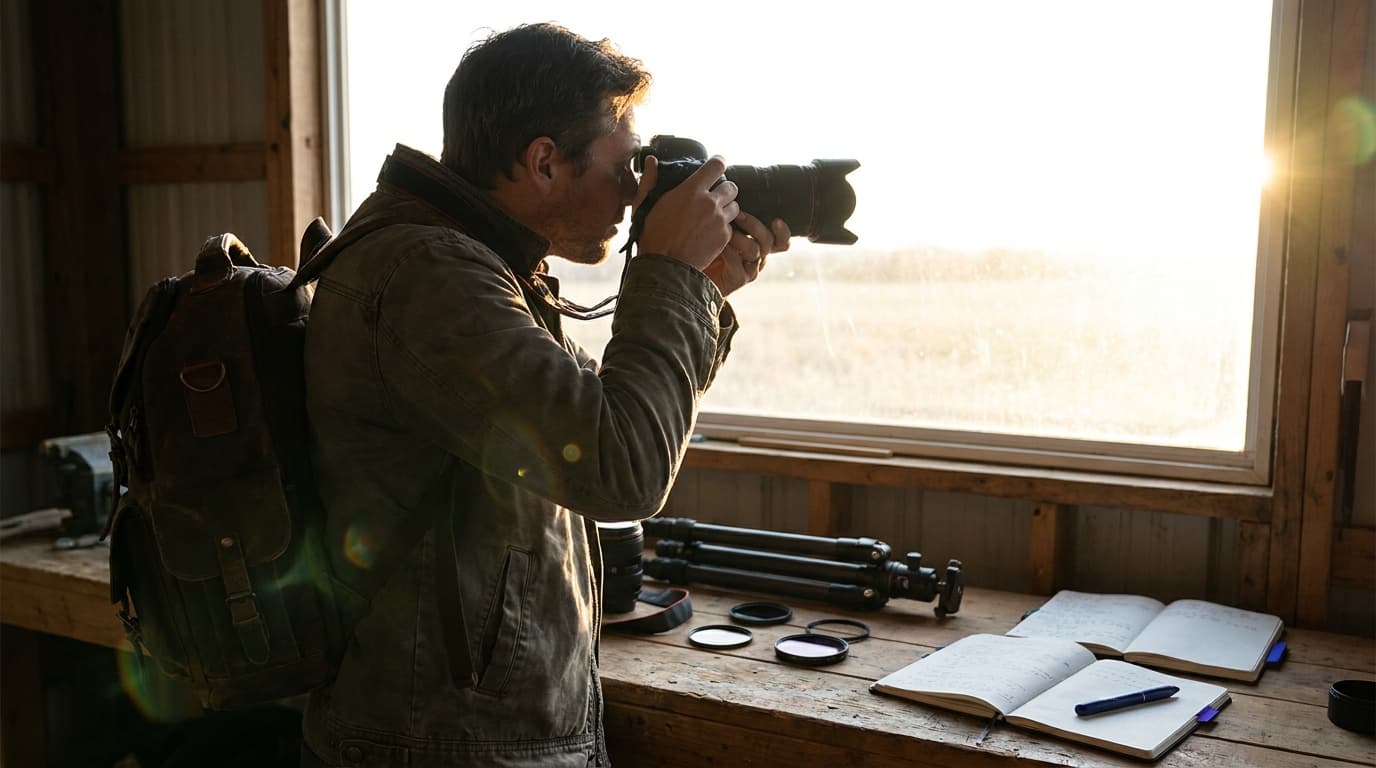
- Direction. Light from the side shows texture and shape. Light from behind creates glowing edges or silhouettes. Flat light from the front shows color but little depth.
- Quality. Hard light from a small, bright source (midday sun) makes sharp shadows. Soft light from a large source (overcast sky, a window) wraps around faces gently.
- Time of day. The hour after sunrise and before sunset, called golden hour, gives warm, low, directional light. Use the Golden Hour Calculator to plan for it.
The shooting in different light guide covers each situation, including harsh midday and overcast flat light.
Step 3: Learn three composition habits
You do not need a long list of rules to start. Three habits fix most beginner photos:
- Put the subject off center. The rule of thirds places the subject on one of the grid lines or intersections, which usually feels more balanced than dead center.
- Use lines to lead the eye. Roads, fences, shorelines, and shadows pull the viewer toward the subject. Leading lines explains how to find them.
- Clean up the background. Before pressing the shutter, look at the edges and the background. Take one step left or right, or get lower, to remove a pole, a sign, or a bright distraction. Using negative space shows how empty areas can make a subject stand out.
When those feel natural, composition techniques and framing and foreground add more tools.
Step 4: Learn the exposure triangle
Exposure is how bright or dark a photo is. Three settings control it, and each has a side effect you can see:
| Setting | What it controls | Side effect | Learn more |
|---|---|---|---|
| Aperture (f-stop) | How much light enters the lens | Depth of field: how much is in focus | Aperture and f-stop |
| Shutter speed | How long the sensor collects light | Motion: frozen or blurred | Shutter speed explained |
| ISO | How much the signal is amplified | Noise: grain in the image | ISO explained |
The exposure triangle explains how the three trade against each other. The short version: change one setting by a stop, and you can keep the same brightness by changing another by a stop in the opposite direction. The Exposure Calculator lets you try those trades without a camera in hand.
Use aperture priority first
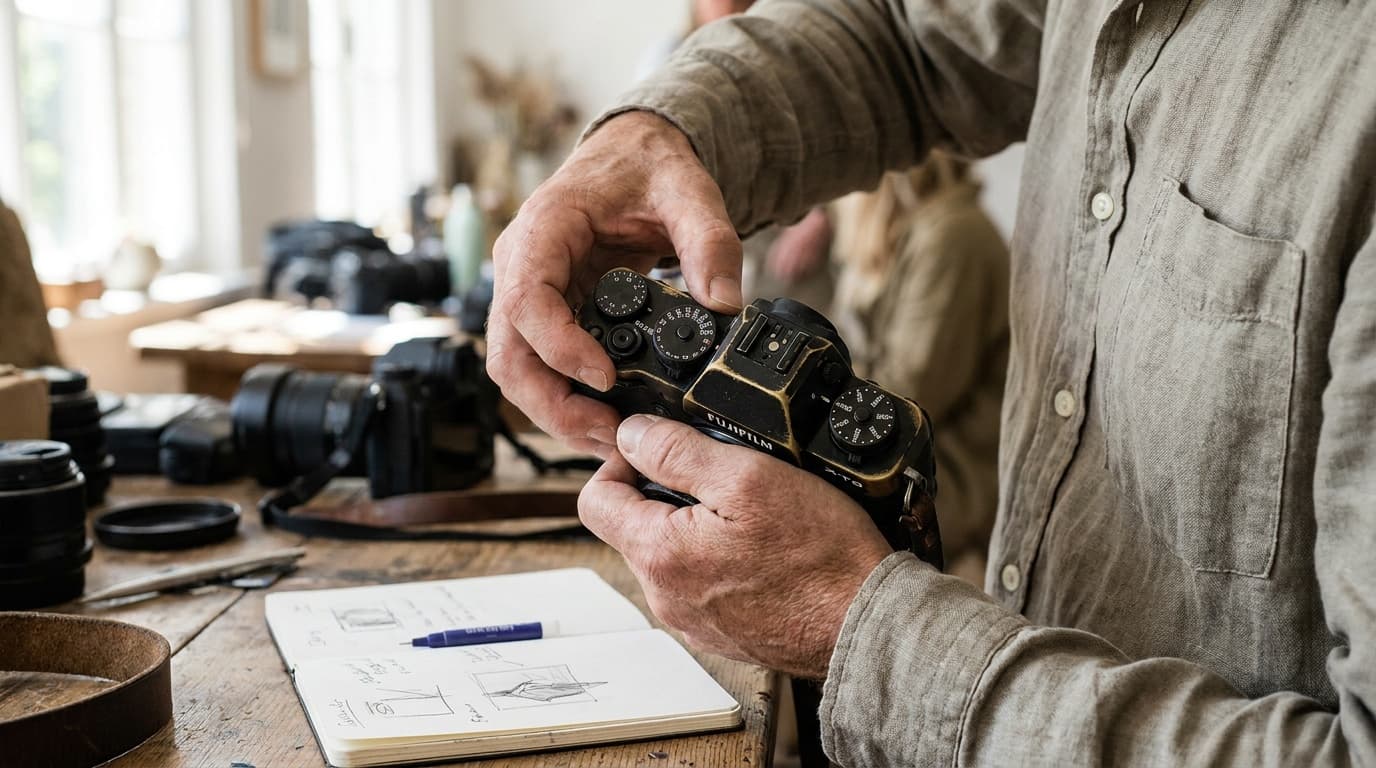
Aperture priority (A or Av on the mode dial) lets you choose the aperture while the camera sets the shutter speed. It teaches depth of field without forcing you to manage every number. Watch the shutter speed the camera picks; if it drops below about 1/60 handheld, raise ISO. The comparison in aperture priority vs shutter priority explains when to switch, and how to use manual mode is the next step after that.
Starting settings for common beginner shots
| Shot | Mode | Starting settings |
|---|---|---|
| Portrait with a soft background | Aperture priority | f/2.8 · 1/250 · ISO 100 to 400 |
| Landscape, sharp front to back | Aperture priority | f/8 · 1/125 · ISO 100 |
| Kids, pets, or sports | Shutter priority | f/4 · 1/1000 · Auto ISO |
| Indoors by a window | Aperture priority | f/2.8 · 1/125 · ISO 800 to 1600 |
| City at blue hour on a tripod | Manual | f/8 · 2 sec · ISO 100 |
These are first guesses. Take a shot, look at the result and the histogram, and adjust.
Step 5: Get sharp photos on purpose
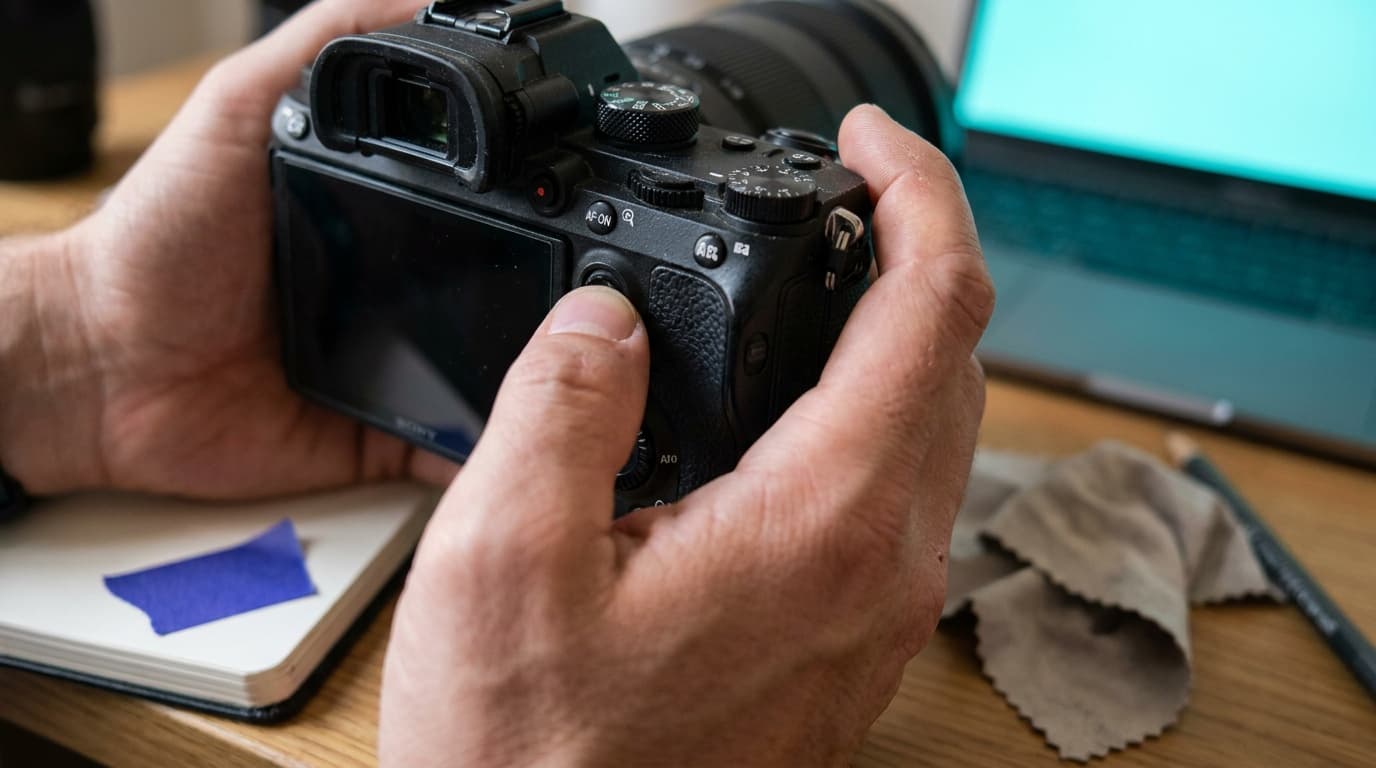
Blurry photos are the most common beginner frustration. The cause is usually one of three things: the focus point landed on the wrong place, the shutter was too slow for your hands, or the subject moved. How to take sharp photos covers the habits, and why are my photos blurry helps diagnose a specific problem. Learning to choose a single focus point, explained in autofocus modes, fixes many missed shots on a dedicated camera. The depth of field guide explains why only part of the frame is sharp at wide apertures, and the Depth of Field Calculator shows the numbers.
Step 6: Edit lightly
Almost every good photo gets some editing. Start simple: straighten, crop, then adjust brightness and contrast. Adobe's Lightroom guide describes the core Light panel controls: Exposure for overall brightness, Contrast mainly for midtones, Highlights and Shadows to recover detail in bright and dark areas, and Whites and Blacks to set the end points. Most editing apps use similar sliders.
If your camera can shoot RAW, try it once you are comfortable editing. RAW files keep more detail for corrections, at the cost of larger files and a required editing step. RAW vs JPEG explains the tradeoff, and the intro to photo editing walks through a basic workflow. The best photo editing apps roundup compares the options.
Step 7: Pick a subject and practice
Practice beats reading. Pick one subject you enjoy and shoot it often. The genre guides turn the fundamentals into a shoot plan:
- Portrait photography for people and light on faces.
- Landscape photography for light, composition, and patience.
- Street photography for timing and everyday scenes.
- Pet photography for fast shutter speeds and eye-level angles.
- Travel photography for putting it all together on the road.
A 30-day practice plan
| Week | Focus | Daily exercise |
|---|---|---|
| 1 | Light | Photograph the same spot at three times of day and compare |
| 2 | Composition | Ten frames of one subject, each using a different position or angle |
| 3 | Exposure | Shoot in aperture priority; make one wide-aperture and one small-aperture frame of each scene |
| 4 | Your genre | One short shoot in your chosen genre; pick your best three and note one fix for each |
Review is the part most people skip. After each session, pick your best frame and your worst, and write down one reason for each. That habit compounds faster than any new gear.
Step 8: Buy gear only when you hit a limit
Upgrade when your current camera stops you from getting a specific shot you already know how to take: a sports moment that needs a faster autofocus system, a night scene that needs a larger sensor, or a portrait that needs a longer lens. The best cameras for beginners guide and what camera should you buy cover first-camera choices, and the best budget cameras guide covers lower price points. For a first extra lens, a fast prime is often the most useful step; see prime vs zoom lenses. The Gear Finder filters options by what you shoot and your budget.
Before shooting in parks, cities, or private property for anything beyond personal use, check the local rules. Photography rules by state and rules by location cover permits and restrictions.
Common beginner mistakes
- Buying gear before learning light. A new camera in flat midday light still makes flat photos.
- Standing in the same spot. Most photos improve when you move closer, get lower, or step to the side.
- Centering everything. Try the subject on a third, then compare.
- Fear of high ISO. A little noise is better than a blurry photo. Raise ISO before the shutter gets too slow to hold steady.
- Deleting on the camera screen. Judge on a larger screen; small screens hide focus and exposure problems.
- Never reviewing. Shooting a lot helps only if you look back and pick one thing to improve.
How do I start photography with no experience?
Use the camera you already have, including a phone. Turn on the grid, shoot every day for a month, and focus on light and composition before settings. When you want more control, learn the exposure triangle and practice in aperture priority mode.
Do I need an expensive camera to start photography?
No. A phone or an entry-level camera is enough to learn light, composition, and exposure. Upgrade when your current camera clearly limits a shot you understand, such as fast action or low light.
What camera settings should a beginner use?
Start in aperture priority mode with Auto ISO. Use around f/2.8 to f/4 for portraits with a soft background and f/8 for landscapes. Watch the shutter speed and keep it at about 1/60 or faster for handheld shots, or faster for moving subjects.
What are the most important photography tips for beginners?
Shoot in good light, move your feet to simplify the background, place the subject off center, keep the camera steady, and review your photos after every session. Those habits improve photos faster than new gear.
Practice this
Turn the guide into a working setup
Keep going
Next useful steps
Pick one. Each link continues the same job without starting the research over.
Related Learn guides
Aperture Priority vs Shutter Priority: Which to Use
Aperture priority lets you control depth of field; shutter priority lets you control motion. Here is what each mode locks, what it leaves to the camera, and when to pick which.
Back Button Focus Explained: What It Is and Why to Use It
Back button focus moves focusing off the shutter button onto a rear button, so the shutter only takes the photo. Here is what it does and how to set it up.
Backlight and Silhouettes: Shooting Into the Light
When the light is behind your subject, it either glows or goes black. Here is how to control which one you get.
Composition Techniques: Five Habits That Build Better Photos
Composition is a set of repeatable habits, not innate talent. Here are five techniques that decide whether a photo is worth looking at.
Researched, not personally tested: picks compare specifications, available owner feedback, and established expert sources. As an Amazon Associate I earn from qualifying purchases. We may earn a commission from links here, at no extra cost to you. How we research →